Appliance Diagnostics Skills That Get You Paid
Learn appliance diagnostics with a field-ready process for testing, fault isolation, documentation, and building a career in appliance repair service.
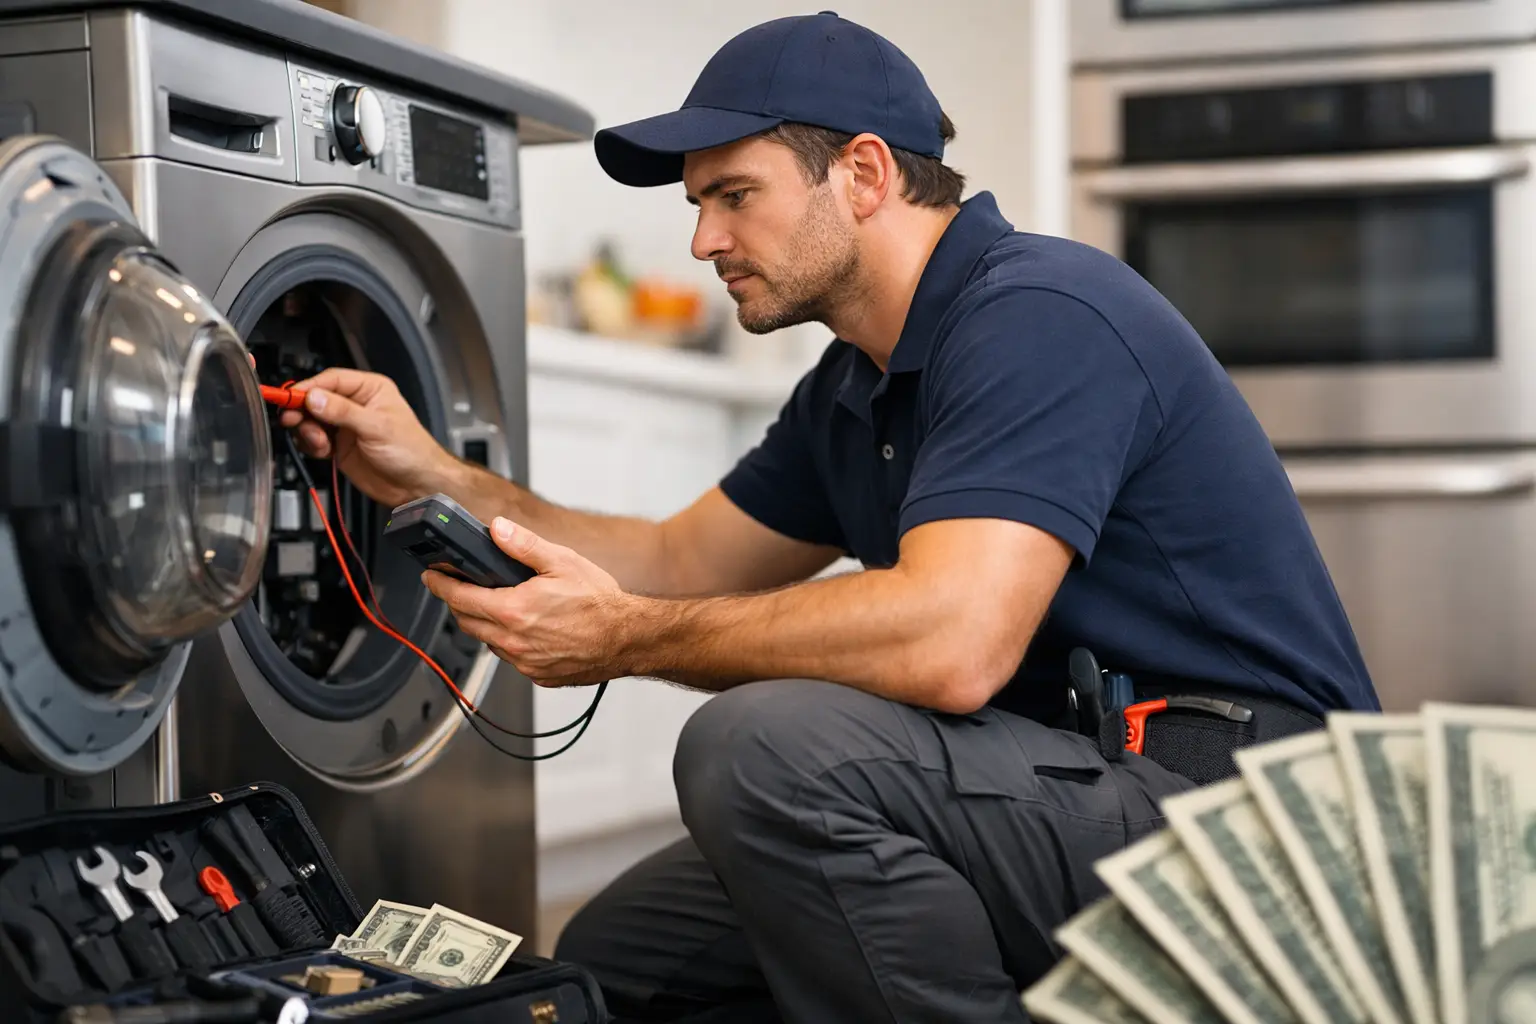
A refrigerator that runs but will not cool, a dryer that tumbles without heat, and a dishwasher that stops mid-cycle may look like three separate problems. For a working technician, they are all appliance diagnostics opportunities: a chance to apply a repeatable process, identify the failed component or condition, and produce a repair recommendation the customer can understand.
That process is what separates a parts changer from a technician who can earn trust, complete more calls, and build a durable career. Appliance repair is not about guessing which part might fix a symptom. It is about gathering evidence, testing safely, narrowing the fault, and documenting the result.
Why Appliance Diagnostics Drive Technician Income
Customers do not pay for a technician to search online in their kitchen. They pay for accurate answers. A professional who can determine whether a no-cool complaint comes from a failed evaporator fan, an open defrost heater, a bad thermistor, a control-board issue, or a sealed system problem creates value before a replacement part is ever installed.
Accurate diagnostics protect both sides of the service call. The customer avoids unnecessary parts and repeat visits. The technician avoids callbacks, wasted drive time, and the expensive habit of replacing components based on a hunch. For an independent business owner, that means better margins, stronger reviews, and more confidence when presenting an estimate.
This is also why appliance repair remains a practical career path. Appliances are increasingly electronic, but they still need a person who can inspect the machine, verify voltage, interpret readings, work safely around moving parts and high voltage, and make a repair decision in a real home. AI can speed up reference work and help organize evidence, but it cannot replace hands-on measurement, safe disassembly, or technician judgment.
The Appliance Diagnostics Workflow Used in the Field
Good diagnostics follow an order. Skipping steps is how a simple repair turns into an unnecessary control-board quote or a second trip. The exact tests vary by appliance category, but the workflow stays consistent.
Start with the complaint and the conditions
First, translate the customer’s description into a testable symptom. “My washer is broken” is not a diagnostic statement. “The washer fills, then hums and will not agitate or spin” gives you a starting point.
Ask what happened before the failure, whether the issue is constant or intermittent, and whether an error code appeared. Check the model number early. Correct model identification affects wiring diagrams, error-code definitions, resistance specifications, and compatible parts. A photo of the model tag and a clear job note can prevent major mistakes later.
Then verify the complaint. Run the appropriate cycle when it is safe to do so. Watch what happens, listen for relays or motors, and note exactly where the sequence stops. A dryer that has no heat may still have normal drum movement. That immediately shifts attention toward the heating circuit, airflow restrictions, thermal protection, and power supply rather than the drive system.
Make the unit safe before testing
Safety is not a formality. Before accessing live circuits or removing panels, assess the hazard. Use lockout/tagout practices when the situation calls for it. Disconnect power before continuity or resistance testing. Confirm power is off with a properly rated meter instead of trusting a switch position.
Some appliances demand extra caution. Microwaves contain high-voltage components that can retain a dangerous charge. Refrigerators may involve sharp sheet metal, condenser fans, and sealed system work. Gas cooking equipment introduces ignition, combustion, and gas-leak risks. A technician earns credibility by knowing when to test, when to isolate power, and when a repair falls outside their authorized scope.
Verify the basics before blaming a major part
Many failures come down to power, water, airflow, drainage, or a poor connection. Check the supply voltage and polarity where applicable. Inspect terminal blocks, wire harnesses, connectors, fuses, door switches, and obvious signs of heat damage. Look for blocked vents, kinked drain hoses, clogged filters, and loose connections.
This is not busywork. A 240-volt electric dryer can tumble on one leg of power while failing to heat because the second leg is missing. A dishwasher may display a heating fault because the circulation system is not moving water correctly. A refrigerator may warm up because a packed freezer blocks airflow, not because the compressor has failed.
Test the circuit, not just the component
Once the symptom is confirmed and the basics are checked, use the wiring diagram to follow the circuit. Identify the load, the controls that command it, the safety devices that interrupt it, and the connectors between them.
A multimeter is central to this work, but the meter reading only matters in context. Continuity can reveal an open thermal fuse. Resistance testing can help evaluate a heater, thermistor, motor winding, or solenoid. Voltage testing can show whether a control is actually supplying power to a component under operating conditions.
For example, a dryer heater that shows normal resistance is not automatically the answer. You still need to determine whether the heater receives the correct voltage during a heat call and whether airflow problems caused a safety device to open. Replacing the heater without addressing a crushed vent can create another callback and a potential fire hazard.
Isolate the root cause and verify the repair
The final diagnostic question is not “What part looks suspicious?” It is “What evidence proves the failure?” A strong diagnosis may identify one failed component, but it should also explain why that component failed when the cause is likely external.
After the repair, reassemble the unit correctly, restore power, run a functional test, and check for leaks, abnormal sounds, error codes, and proper cycle completion. Verification matters. A dishwasher that fills and sprays may still leak from a disturbed hose. A refrigerator fan replacement is incomplete if the evaporator cover was not resealed or the airflow path remains blocked.
What New Technicians Need to Learn First
Career changers do not need to memorize every appliance model before starting. They need a foundation that makes unfamiliar machines manageable. Electrical fundamentals come first: voltage, resistance, continuity, AC versus DC circuits, series and parallel paths, and correct multimeter use.
From there, technicians build category-specific knowledge. Laundry training covers motors, lid locks, drain systems, pressure switches, and motor controls. Refrigeration requires airflow, defrost systems, thermistor diagnostics, compressor operation, and sealed system fundamentals. Cooking equipment introduces elements, igniters, temperature sensors, and control logic. Dishwashers require an understanding of fill, wash, drain, heat, and drying sequences.
The fastest path is structured practice. Reading a manual helps, but scenario-based simulations force you to choose the next test, interpret a result, and defend your conclusion. That is much closer to a real service call than memorizing fault codes in isolation.
Documentation Is Part of the Repair
A technician’s notes should make the diagnosis clear to a customer, office team, warranty company, or future technician. Record the model and serial information, complaint, observations, tests performed, readings obtained, fault identified, parts recommended, and repair verification.
Customer-facing language matters. “Failed thermal fuse due to restricted exhaust airflow” is more useful than “dryer no heat.” It explains the repair, supports the estimate, and gives the customer an action item. Clear documentation also protects your business if the unit has unrelated issues or the customer declines a recommended repair.
Modern field tools can reduce the time spent searching for error codes, wiring references, and common test procedures. The right app can help organize photos, readings, job tickets, and customer-ready reports. Still, use those tools to support your process, not to skip it. The machine, meter, wiring diagram, and safety procedure remain the source of truth.
Turning Diagnostic Skill Into a Career Asset
The technician who follows a disciplined process becomes more valuable with every service call. You can work toward employment with an established service company, take on side work as your experience grows, or build an independent repair business with control over your schedule and customer base.
Appliance Repair Academy trains students through a structured 12-week path covering safety, electrical testing, major appliance categories, diagnostic workflows, customer documentation, and business operations. With more than 80 scenario-based simulations, graded coursework, a final certification assessment, and direct support, the goal is not just to recognize a failed part. It is to become ready to perform paid field work.
Explore Appliance Repair Academy content to see how structured hands-on training can build your diagnostic foundation. Then download the companion AI-powered diagnostic app at appliancerepairai.org/download to support your work with fault detection, error-code lookup, wiring references, and field documentation. Every accurate reading you take is more than a repair step - it is proof that you are building a skill customers and employers will pay for.