How to Diagnose Dryer Airflow Like a Technician
Learn how to diagnose dryer airflow using field-tested checks for restrictions, vent testing, temperature readings, and repair documentation that holds up.
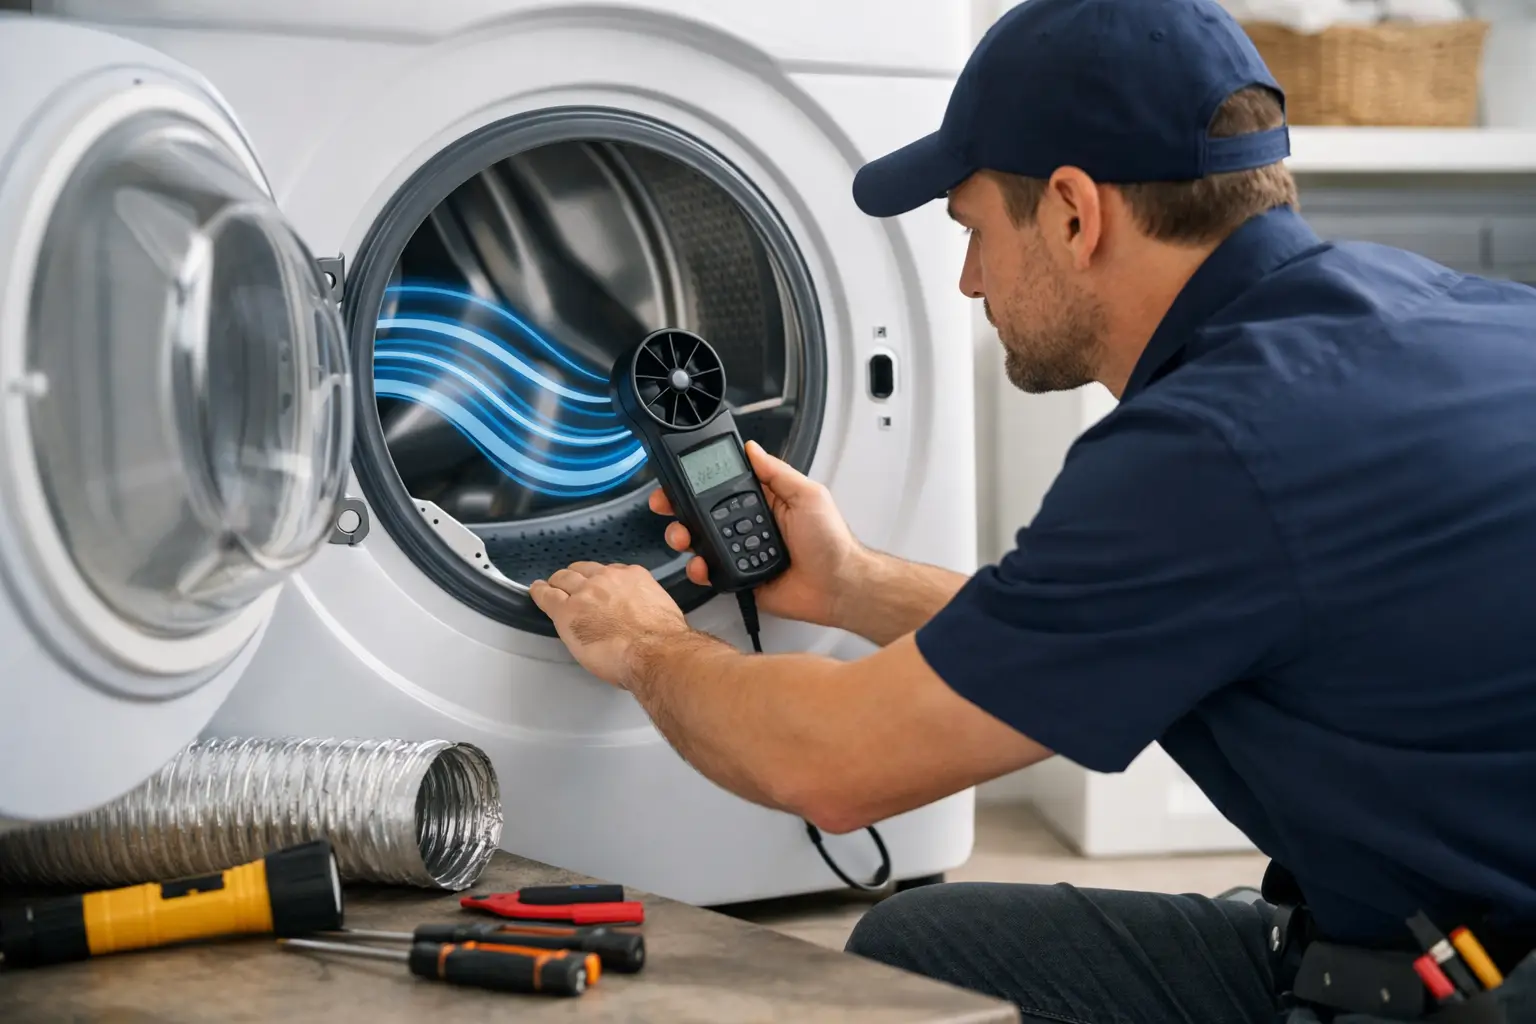
A dryer that takes two or three cycles to dry a normal load is not automatically a heating failure. In the field, restricted exhaust is one of the first causes to rule out. Knowing how to diagnose dryer airflow gives you a repeatable workflow, protects the appliance from overheating, and prevents the expensive mistake of replacing a heater, gas valve coil, or control board when the real issue is a blocked vent.
For a working technician, airflow diagnosis is more than pulling lint from a screen. You are confirming the complaint, isolating the restriction, verifying the repair, and documenting findings clearly enough that a customer understands what failed and what needs to happen next.
Start With the Customer’s Exact Complaint
Ask what the dryer is doing before touching the machine. “It does not dry” can mean very different things. A dryer that tumbles but stays cold follows a different diagnostic path than one that gets extremely hot, shuts down early, or leaves clothes damp after 70 minutes.
Get specifics: How long does a typical load take? Is the issue worse with towels or every fabric type? Does the laundry room feel unusually hot or humid? Has the customer noticed lint collecting around the exterior vent hood? Did the problem begin after a vent cleaning, remodeling project, or dryer replacement?
These details create a baseline. A normal mixed load should not require multiple cycles when the dryer is heating correctly and the exhaust path is open. If dry times have gradually increased over months, suspect a developing restriction. If the problem started immediately after installation, look closely at crushed transition ducting, poor vent routing, or an exterior damper that cannot open.
Make the Dryer Safe Before Testing
Start with basic safety. Disconnect electrical power before removing panels, and use lockout/tagout practices where appropriate. For a gas dryer, shut off the gas supply before disassembly. Restore power only when an energized test is necessary, and keep hands, leads, clothing, and tools clear of moving parts and exposed terminals.
Never bypass a door switch or safety device just to make the dryer run with the cabinet open. Use the manufacturer-approved test procedure. Also remember that a gas dryer must not discharge combustion gases into the home. Do not run a gas dryer with its exhaust disconnected indoors as a shortcut for airflow testing.
A good technician does not trade safety for speed. The goal is a controlled test that gives reliable information.
Inspect the Entire Exhaust Path
Dryer airflow is a system. The blower wheel creates movement, but that air still has to pass through the lint screen, lint housing, internal ducting, transition duct, wall connection, vent run, and exterior termination. A restriction anywhere in that path can extend dry times and raise operating temperatures.
Begin with the easy visual checks. Remove the lint screen and inspect it under good light. A screen can look clean while carrying a nearly invisible coating from dryer sheets or fabric softener. That film limits air movement. Wash the screen with warm water and mild detergent, then rinse and dry it if water beads on the mesh instead of passing through.
Check the transition duct behind the dryer. Flexible foil or plastic ducting is easily crushed, sagged, or kinked. Plastic duct is not acceptable for dryer exhaust because it can deteriorate and presents a fire risk. A short, properly supported metal transition duct is usually the right choice, but even good material fails if the dryer is pushed tight against the wall.
At the exterior termination, confirm the damper opens freely while the dryer operates. Lint buildup, insect nests, snow, landscaping, damaged louvers, and improperly installed bird guards can all reduce discharge. Screens placed over an exterior dryer vent are especially likely to clog and should not be treated as a permanent solution.
Look for Vent Design Problems, Not Just Lint
A clean vent can still be a poor vent. Long runs, excessive elbows, sharp turns, undersized ducting, screws protruding into the air path, and corrugated flex duct all create resistance. Every turn adds drag. A customer may need a vent-cleaning service, a reroute, or a correction to the home’s exhaust system rather than an appliance part.
That distinction matters. Technicians repair dryers, but they also need to identify building-side conditions accurately. Do not promise that a new blower wheel or heating element will solve a vent run that is badly designed or obstructed inside the wall.
Use a Split Test to Isolate the Restriction
The fastest practical way to separate a dryer problem from a house-vent problem is to compare operation with the exhaust connected and disconnected. For electric dryers, perform a brief, controlled test with the machine disconnected from the home vent only when local conditions allow safe discharge and you can prevent lint from spreading. For gas dryers, use a safe temporary exterior discharge setup or an approved test method instead of venting into the room.
Run the dryer on a timed, high-heat setting with the lint screen installed. Observe airflow at the exterior termination with the vent connected. Then compare that result with the dryer’s airflow at the outlet under the appropriate controlled test condition.
If airflow at the dryer outlet is strong but weak at the exterior hood, the restriction is downstream - usually the transition duct, wall vent, or termination. If airflow is weak directly at the dryer outlet, inspect the internal air path, blower housing, lint duct, and blower wheel.
A dramatic improvement when the home vent is removed is valuable evidence, but it is not the end of the job. Reconnect the system after testing, identify the exact vent issue if possible, and explain whether the customer needs appliance service, vent remediation, or both.
Verify Airflow With the Right Measurements
Your eyes and hands are useful, but instruments turn a reasonable suspicion into a defensible diagnosis. An airflow meter or dryer vent test tool can help quantify discharge at the exterior hood. A manometer can identify excessive back pressure, although acceptable readings vary by manufacturer and vent design. Follow the appliance manufacturer’s service information rather than relying on one universal pressure number.
Temperature readings add another layer. Use a thermocouple or temperature probe at the exhaust and watch the cycling pattern. A dryer with normal heat cycling but poor airflow may climb too high, trip a high-limit thermostat, or cycle abnormally because heat is not leaving the drum efficiently. Compare readings with the vent connected and with the restriction isolated through an approved test setup.
Do not diagnose airflow from temperature alone. A failed cycling thermostat, thermistor, control board, heating element relay, gas valve coil, or high-limit thermostat can also create abnormal heat behavior. Airflow testing and temperature testing work together. One tells you whether air is moving; the other helps show what the heating system is doing under load.
Check the Dryer’s Internal Air Path
When the vent system is clear but airflow remains weak, move inside the cabinet. Disconnect power, access the lint duct and blower housing according to the model’s service procedure, and inspect for lint mats, foreign objects, damaged seals, or a blower wheel that has stripped from the motor shaft.
A cracked or loose blower wheel can allow the motor to run while moving very little air. Depending on the model, you may hear rattling, thumping, or a high-pitched sound. Lint accumulation around the blower housing can also reduce performance and create a safety concern.
Inspect drum seals and air ducts where accessible. A damaged seal does not always cause a major airflow failure, but it can affect how air moves through the drum and across the clothes. On some models, a blocked lint chute, failed internal flap, or misinstalled duct cover creates a restriction that is easy to miss if you only inspect the back vent connection.
Avoid the Most Common Misdiagnoses
The most common mistake is replacing a heating component before checking the vent. A dryer can produce heat and still fail to dry because moisture cannot escape. The second mistake is declaring the vent clear because air can be felt outside. Weak airflow is still airflow, and a partially restricted vent can be enough to cause long dry times and overheating.
Another mistake is testing with an overloaded drum. For a functional check, use an empty drum or a controlled test load. A packed dryer prevents proper tumbling and changes the customer’s symptom. Finally, do not overlook the lint screen. A coated screen may pass air poorly even when it appears free of lint.
Document the Finding Like a Professional
Your service notes should show the problem, the tests performed, the result, and the next action. Record the reported dry time, condition of the lint screen, transition duct material, exterior damper operation, observed vent restrictions, and any before-and-after readings from your test tools.
If the dryer itself is operating correctly but the home vent is restricted, say that plainly. For example: “Dryer produces heat and blower output is strong at appliance outlet. Exterior discharge is weak. Restriction is present in the customer’s exhaust system. Recommend professional vent cleaning and repair before further appliance part replacement.”
That documentation protects the customer, supports your recommendation, and makes you look like the technician who diagnosed the system instead of guessing at parts.
Field-ready appliance repair is built on workflows like this one: isolate the fault, test the evidence, and explain the repair in customer-ready language. Explore dryer diagnostic training through Appliance Repair Academy and pair your hands-on workflow with the Appliance Repair Assistant AI app for faster reference checks, guided testing, and clearer job documentation.