Dryer Airflow Testing Procedure for Service Calls
Follow a field-ready dryer airflow testing procedure to find vent restrictions, document results, prevent callbacks, and gain technician diagnostic skills.
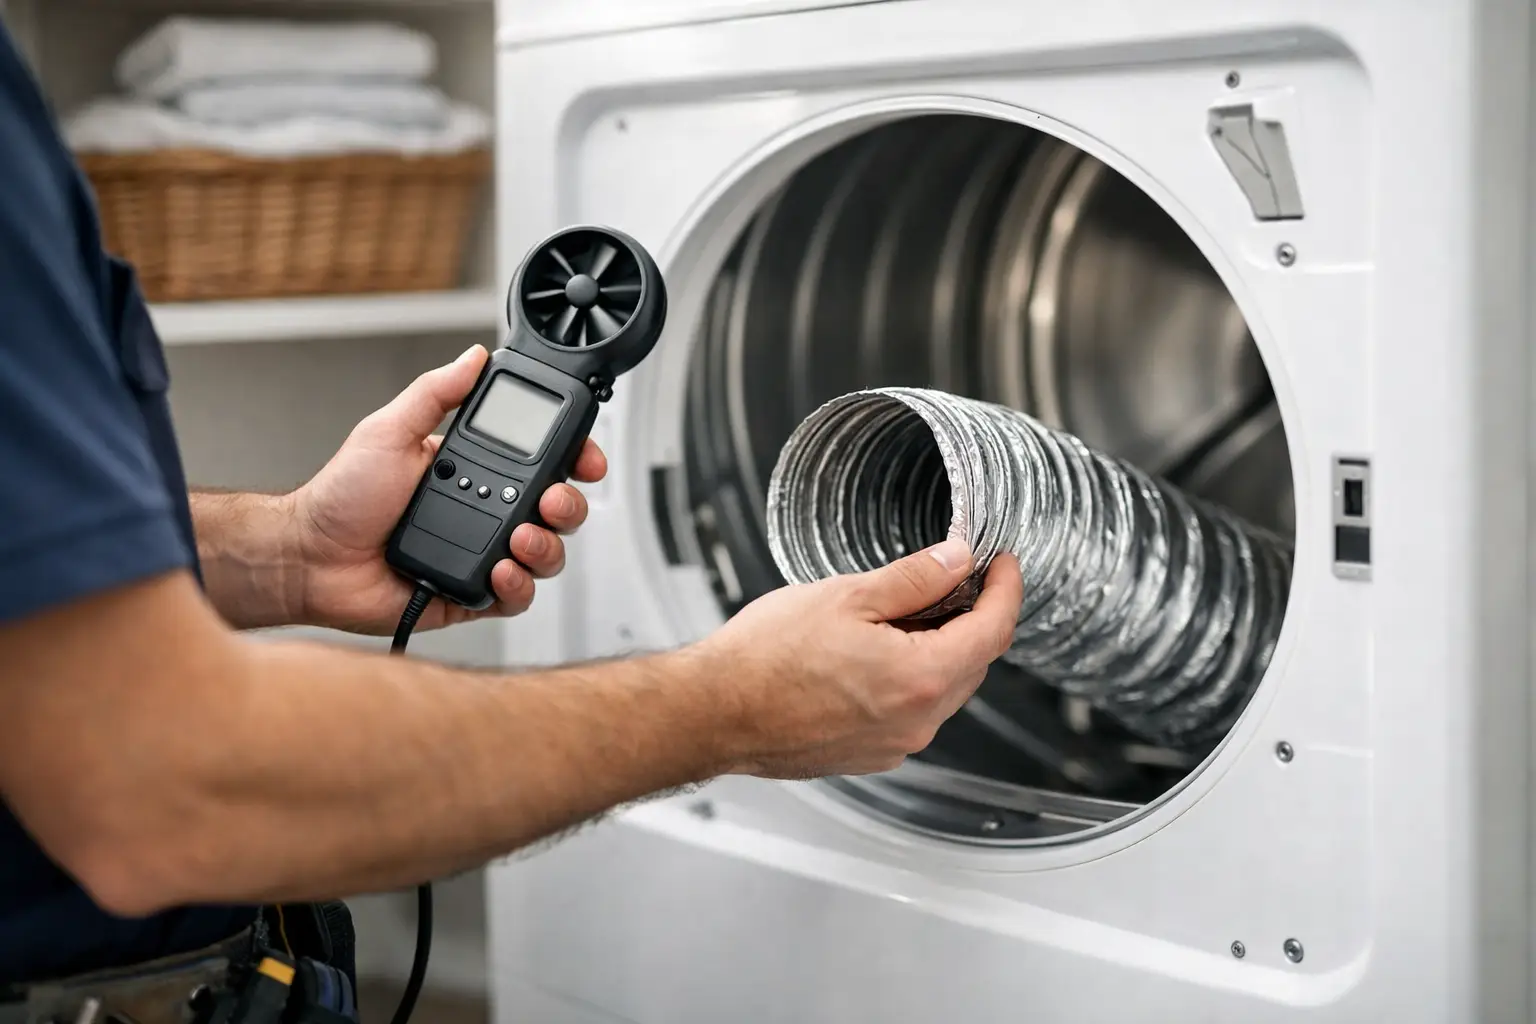
A dryer that heats but takes two or three cycles to dry a normal load is not automatically a bad heating-element call. In many homes, the failure is airflow. A disciplined dryer airflow testing procedure helps you separate a restricted vent system from an appliance fault, protect the customer from a potential lint-fire hazard, and avoid replacing parts that were never defective.
For a working technician, airflow testing is more than a quick look behind the machine. It is a repeatable diagnostic workflow: verify the complaint, establish a baseline, isolate the dryer from the house vent, inspect the entire exhaust path, record the result, and explain the repair in customer-ready language. That process is how entry-level techs become technicians customers and employers can trust.
Why Airflow Testing Belongs Early in Dryer Diagnosis
Dryers move a large volume of warm, moisture-laden air. When the exhaust path is restricted, moisture stays in the drum longer, cycle times increase, and operating temperatures can rise. On electric models, a restriction may cause the high-limit thermostat or thermal cutoff to cycle or fail. On gas models, it can contribute to poor performance and repeated overheating complaints.
The symptom list is broad: long dry times, a hot laundry room, lint around the dryer, a weak exterior exhaust flap, clothes that feel hot but damp, or a dryer that shuts off before the load is dry. None of these symptoms proves a vent restriction by itself. A failed blower wheel, crushed transition duct, loading issue, moisture-sensor problem, or incorrect cycle selection can look similar. The point of testing is to stop guessing.
A good field diagnosis also protects your profit. If you install a heating element without checking airflow and the new part overheats because the vent is blocked, you own the callback even though the part was technically bad. The technician who documents airflow before and after repair has a clearer diagnosis and a stronger customer conversation.
Tools for a Dryer Airflow Testing Procedure
Start with basic service tools: a flashlight, screwdriver set, nut drivers, pliers, vacuum, soft vent brush, and work gloves. A multimeter remains essential for checking heater continuity, thermostat operation, supply voltage, and thermal protections when the airflow test points toward an appliance-side issue.
For airflow verification, an airflow meter or anemometer is useful. Some dryer-specific test kits measure airflow at the exterior hood or calculate a pass/fail result at the exhaust connection. A manometer can help experienced technicians evaluate static pressure. The exact method depends on the dryer design, the tool being used, and manufacturer specifications.
Do not treat one airflow number as universal. Vent length, elbows, roof terminations, exterior hood design, elevation, and manufacturer test criteria can change what is acceptable. When specifications are available, use them. When they are not, compare the dryer operating with the house vent connected against the dryer operating with the vent disconnected. That comparison often tells the story quickly.
Step-by-Step Dryer Airflow Test
1. Confirm the Complaint and Check the Load
Ask what the customer sees in normal use. Is the issue every load or only bulky items? Does the dryer heat? Has the problem gotten worse gradually? Were there recent remodeling changes, a new exterior hood, or a vent cleaning? These questions can point toward a building-vent issue before you move the dryer.
Inspect the load when possible. One heavy comforter, a very small load, or an overloaded drum can produce misleading results. Then run the dryer on a timed heated cycle. Timed Dry is usually more useful than an automatic cycle during initial testing because it removes moisture-sensor decisions from the test.
2. Perform a Quick Exterior Inspection
Go to the exterior termination while the dryer is operating. The damper should open freely, and you should feel a clear discharge of warm air after the dryer has been running long enough to heat. A weak flow, a flap that barely opens, or lint packed around the hood is a strong restriction clue.
Do not stop there. A roof termination may be harder to access, and a visual inspection from the ground may not reveal a clogged screen, bird nest, disconnected duct, or crushed section in an attic. Document what you can see and continue the test at the dryer.
3. Shut Down Safely Before Moving the Dryer
Turn the dryer off before disconnecting anything. Unplug an electric dryer or switch off the correct breaker. For a gas dryer, close the gas shutoff valve if you need to move the appliance far enough to strain the flex connector, and follow safe reconnection and leak-check practices. Protect the flooring and avoid pulling the dryer by the door or control panel.
This is a practical lockout/tagout mindset: control the energy source before placing hands near electrical connections, sharp sheet metal, or moving equipment. It also prevents a simple airflow test from becoming a damaged-cord or gas-line service call.
4. Inspect the Transition Duct and Dryer Outlet
Remove the transition duct from the dryer exhaust outlet. Look for crushed foil duct, excessive length, multiple unnecessary bends, lint buildup, tape failures, and screws penetrating into the airflow path. Flexible plastic duct should not be used for dryer exhaust. It is a fire risk and a common source of restrictions.
Inspect the dryer outlet and the blower housing area with a flashlight. If lint has accumulated at the outlet, the restriction may be inside the dryer. A loose, damaged, or lint-packed blower wheel can reduce airflow even when the house vent is clean. This is where a technician shifts from vent cleaning language into appliance diagnostics.
5. Run the Dryer With the House Vent Disconnected
With the dryer positioned so it can exhaust safely into a well-ventilated area, run a brief heated test with the house vent disconnected. Never operate it this way for an extended period, and never exhaust a gas dryer into an occupied indoor space. The purpose is comparison, not normal operation.
Feel for strong air movement at the dryer outlet or use your airflow tool according to its instructions. If airflow is strong with the vent removed but weak when the vent is reconnected, the restriction is in the transition duct, wall duct, exterior termination, or another section of the building exhaust system.
If airflow remains weak with the house vent disconnected, investigate the dryer. Check the blower wheel, lint screen housing, internal ducting, seals, and any obstruction around the blower. On models that use a belt-driven blower, verify the motor is reaching normal speed and the blower is not slipping or damaged.
6. Test the Complete Vent Path
Reconnect the transition duct after correcting obvious installation problems. If the building vent is suspected, inspect or clean the full run from the dryer connection to the termination. A short, straight run may be serviceable with basic equipment. A long run with multiple elbows, a roof exit, or inaccessible concealed duct may require specialized cleaning equipment or referral to a qualified vent-cleaning provider.
After the restriction is removed, repeat the test. This before-and-after verification matters. It proves the repair improved performance and prevents the vague statement that the vent was “cleaned” without evidence that airflow was restored.
How to Document the Result for the Customer
Your job ticket should identify the complaint, test conditions, visible vent condition, airflow observations, repairs performed, and final operating result. If you used an airflow meter, record the tool reading and where it was measured. If you tested with the vent disconnected, state that airflow was strong or weak at the dryer outlet and what that indicated.
Use plain language with the customer. For example: “The dryer is producing heat and moving air correctly at the machine. The restricted wall vent was trapping moisture, which caused long dry times and elevated operating temperature.” That explanation makes the recommendation understandable without overselling parts.
If the vent system remains unsafe because of excessive length, improper material, concealed damage, or an inaccessible termination, document the limitation clearly. A technician should never represent a partial cleaning as a full correction.
When Airflow Is Good but Drying Is Still Poor
A passing airflow result does not end diagnosis. If airflow is strong and the vent path is clear, test the appliance systems that control heat and moisture removal. On electric dryers, confirm proper supply voltage at the terminal block. A dryer can tumble with only part of its required voltage supply and still fail to produce full heat.
Then check heating-element continuity, thermostats, thermal fuses, thermistor diagnostics where applicable, and wiring connections. For gas dryers, evaluate igniter operation, flame sensor function, gas valve coils, burner cycling, and venting conditions. On sensor-dry complaints, inspect the moisture sensor bars for residue and verify the load and cycle selection were appropriate.
That sequence is what makes a technician efficient: verify airflow first, then test the circuit and components that remain plausible. It is a workflow you can use on nearly every dryer brand without relying on assumptions.
Build a Repeatable Field Habit
A dryer repair can look simple until a callback turns a one-hour job into an unpaid half day. Build airflow verification into every long-dry-time, overheating, thermal-fuse, and heater-replacement diagnosis. It sharpens your technical judgment, improves safety, and gives customers a clear reason to approve the right repair.
Explore more technician-first training content from Appliance Repair Academy (https://appliancerepairacademy.org), and download the companion AI diagnostic app (https://appliancerepairai.org/download) for photo-based fault support, wiring references, and customer-ready job documentation. The goal is not to memorize a shortcut. It is to build the repeatable diagnostic habits that turn hands-on skill into paid, dependable work.