Beginner Refrigeration Diagnostics Training Guide
Start diagnosing refrigerator failures with a beginner refrigeration diagnostics training guide built around safety, meter testing, airflow, and workflow.
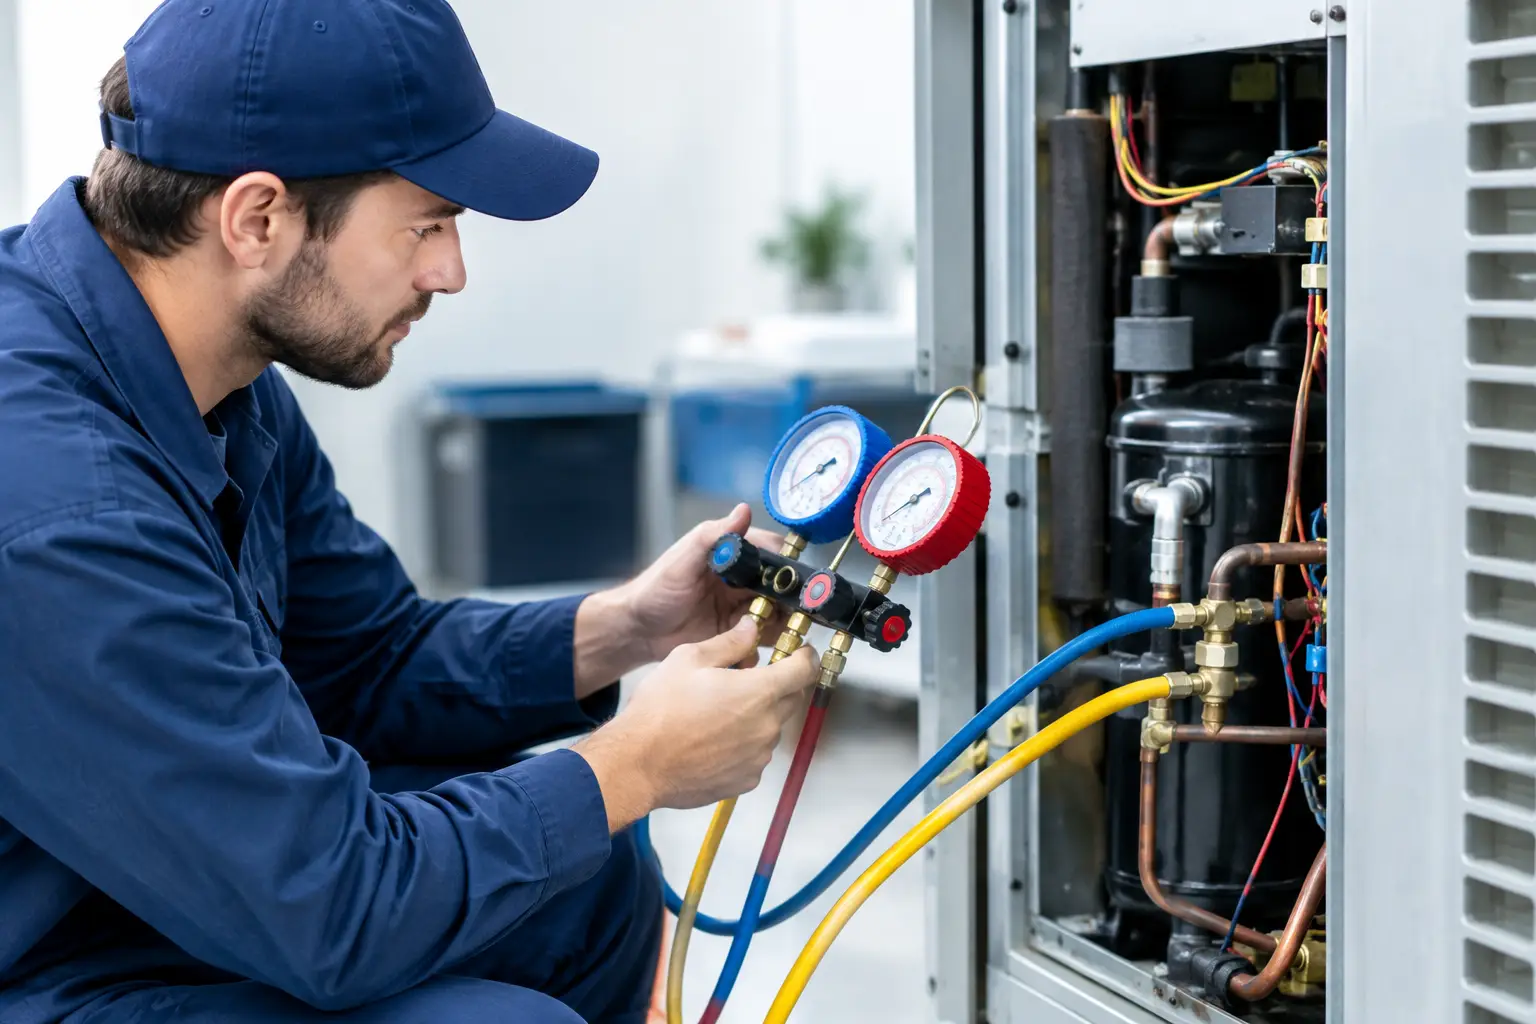
A refrigerator that is warm in the fresh-food section but cold in the freezer is not a guessing game. It is a test of process. A strong beginner refrigeration diagnostics training guide teaches you to follow the system from the power source to the compressor, fans, airflow path, sensors, and controls before you ever recommend a part. That discipline is what turns a new technician into someone a service company can trust and a customer will call again.
Refrigeration is one of the highest-value appliance categories to learn because refrigerators are essential equipment. Customers do not wait long when food is at risk, and they do not want a technician who replaces parts without proof. The opportunity is real, but the work requires safety habits, electrical fundamentals, and a repeatable diagnostic workflow.
Start With Safety and the Customer Complaint
Every refrigeration call begins before you remove a panel. Confirm the model number, listen carefully to the complaint, and establish what the unit is actually doing. “Not cooling” can mean a warm freezer, a warm refrigerator compartment, frost on the back wall, a noisy fan, an intermittent display, or a machine that runs constantly. Each symptom points toward a different branch of the diagnostic path.
Ask when the issue started, whether power was interrupted, whether doors were left open, and whether the customer heard clicking, grinding, or buzzing. Check food placement and vent blockage. A packed refrigerator can restrict airflow enough to create a temperature complaint without a failed component.
Safety is not a box to check. Use lockout/tagout procedures when appropriate, disconnect power before opening electrical circuits, and verify voltage with a multimeter instead of assuming the outlet is dead. Wear cut-resistant gloves around sharp sheet metal and take extra care near condenser fans and compressor terminals. If sealed-system service is required, federal refrigerant handling rules apply. New technicians should understand sealed system fundamentals, but only perform refrigerant work within their certification, equipment, and legal authority.
Build Your Diagnostic Baseline Before Testing Parts
A technician who starts by ordering a control board is working backward. First, record the operating condition. Is the compressor running? Are the condenser and evaporator fans running? Is the condenser packed with lint? Is there a full frost pattern, heavy frost on one section of the evaporator, or no frost at all?
Temperature readings matter, but use them correctly. A refrigerator needs time to stabilize after a door opening, defrost cycle, or power interruption. Measure actual compartment temperatures with a reliable thermometer, then compare them with the setpoint and the customer’s complaint. A freezer that is 20 degrees Fahrenheit is a different diagnostic situation than a freezer at 45 degrees Fahrenheit.
Your baseline should include four areas:
- Incoming voltage and outlet condition
- Compressor, condenser fan, and evaporator fan operation
- Airflow through the evaporator, damper, and return vents
- Frost pattern and evidence of a defrost failure
This evidence prevents expensive misdiagnoses. For example, a warm fresh-food compartment with a normally cold freezer often points to an evaporator fan, air damper, blocked return duct, or frost obstruction. A refrigerator that is warm everywhere may require you to evaluate the compressor start circuit, inverter, control output, condenser conditions, or sealed system.
Learn the Refrigeration System as One Working Circuit
Beginners often treat the compressor, fans, thermistors, and defrost components as separate lessons. In the field, they work together. The compressor moves refrigerant. The condenser rejects heat. The evaporator absorbs heat. Fans move air across those coils and through the cabinet. Thermistors report temperature to the control board, which decides when to run cooling loads and defrost.
That is why a failed evaporator fan can look like a sealed-system problem. The compressor may run, the evaporator may be cold, and the freezer may still struggle because cold air is not moving correctly. Similarly, a defrost failure can create a thick ice blanket around the evaporator, shutting down airflow even though the refrigeration circuit itself is operating.
Start by identifying the system type. A conventional unit may use a compressor start relay and overload. Many newer models use inverter-driven compressors, variable-speed fans, electronic dampers, and multiple thermistors. The testing approach changes with the design. You may be checking line voltage at a relay on one job and control-board communication or inverter supply voltage on the next.
The principle stays the same: identify the component’s job, determine what command or power it should receive, test the component, and compare the result to the wiring diagram and manufacturer specifications.
Use Your Multimeter to Prove, Not Guess
Electrical testing is where career changers gain confidence quickly when they follow a sequence. You do not need to memorize every refrigerator model. You need to know how to read a wiring diagram, select the correct meter function, and test safely.
For a basic compressor start circuit, inspect the relay and overload for heat damage or loose connections. With power disconnected, check compressor winding resistance according to the terminal layout and look for a short to ground. With power restored only when safe and necessary, verify whether the circuit is delivering the required voltage. A clicking compressor that will not start may involve the start device, compressor windings, supply voltage, or an inverter system. Replacing a relay without testing can waste a customer’s money.
Thermistor diagnostics require the same discipline. Disconnect the sensor when the service information calls for it, measure resistance, and compare the reading to the expected value at the actual temperature. A sensor may look physically perfect and still report the wrong temperature to the control board. Conversely, a thermistor reading that appears out of range may be caused by testing it at an unknown temperature or using the wrong specification chart.
Defrost testing is equally practical. Check the heater circuit, defrost thermostat or bimetal if equipped, thermal fuses, and the board’s ability to initiate defrost. Frost location is useful evidence. A fully iced evaporator often supports a defrost-path diagnosis, while a partial frost pattern can point toward a refrigerant restriction, low charge, or compressor efficiency concern. Those conditions need careful evaluation, not a quick part swap.
Follow a Repeatable Refrigeration Call Workflow
A field-ready workflow keeps you efficient when the customer is waiting and your next call is already on the schedule. Begin with the complaint and visual inspection. Confirm power and controls. Evaluate fan operation and airflow. Inspect frost patterns. Test the relevant electrical circuit. Then document the evidence that supports your recommendation.
This order matters because it protects both your time and your reputation. If the evaporator fan is not running, test the fan circuit before treating the compressor as the primary failure. If the condenser is buried in pet hair, correct the airflow condition and re-evaluate performance before discussing major repairs. If the compressor is hot and repeatedly clicking, move into start-device, voltage, and winding tests rather than relying on sound alone.
Your job ticket should state the customer complaint, measured temperatures, observed component operation, meter readings, diagnosis, recommended repair, and any limitations. Clear documentation helps the customer understand the repair. It also protects your business if a different issue appears later.
Practice Scenarios Before You Meet Them on a Paid Call
The fastest path to real competence is not watching random repair videos. It is working through structured fault scenarios where you must choose the next test, interpret the reading, and justify the repair. A good training program gives you repetition across common failures: iced evaporators, failed fan motors, bad thermistors, start-device issues, damper failures, defrost circuit faults, and control problems.
At Appliance Repair Academy, refrigeration training is built into a structured 12-week path that begins with safety and electrical testing before advancing into appliance-specific diagnostics. Students work through 80+ scenario-based simulations, graded coursework, and a final certification assessment, while using the Appliance Repair Assistant AI app for photo-based fault detection, error-code lookup, wiring references, multimeter guidance, job ticketing, and customer-ready reporting.
AI can speed up information retrieval, especially when you are standing in a customer’s kitchen with a model number and an unfamiliar error code. It does not replace meter readings, frost-pattern analysis, or your judgment. Treat it as a field tool that helps you confirm the next step, organize documentation, and reduce time spent searching for service data.
When to Repair, When to Escalate, and When to Walk Away
A professional diagnosis includes business judgment. A failed fan motor or defrost heater may be a straightforward repair with a strong value proposition. A sealed-system issue on an older, low-value refrigerator may not make financial sense for the customer, even if it is technically repairable. Age, appliance condition, part availability, labor time, and the customer’s budget all matter.
Be direct about uncertainty. If evidence suggests a sealed-system restriction or inefficient compressor, explain what you observed and what additional testing or certified sealed-system service would require. Do not promise a low-cost fix when the facts do not support one. Customers respect technicians who explain trade-offs clearly.
The goal is not to sound like a manual. The goal is to arrive prepared, isolate the failure, communicate the evidence, and leave the customer with a defensible recommendation. That is the standard that creates repeat work, higher average tickets, and a career that can grow from entry-level service calls into a profitable independent business.
Ready to turn refrigeration troubleshooting into a job-ready skill? Visit Appliance Repair Academy to explore hands-on training, then download the companion AI diagnostic app at Appliance Repair AI. Your next paid service call gets easier when your process is already in place.