Dishwasher Diagnostic Workflow Training That Pays
Get dishwasher diagnostic workflow training that teaches circuit testing, fault isolation, repair documentation, and field-ready service skills safely.
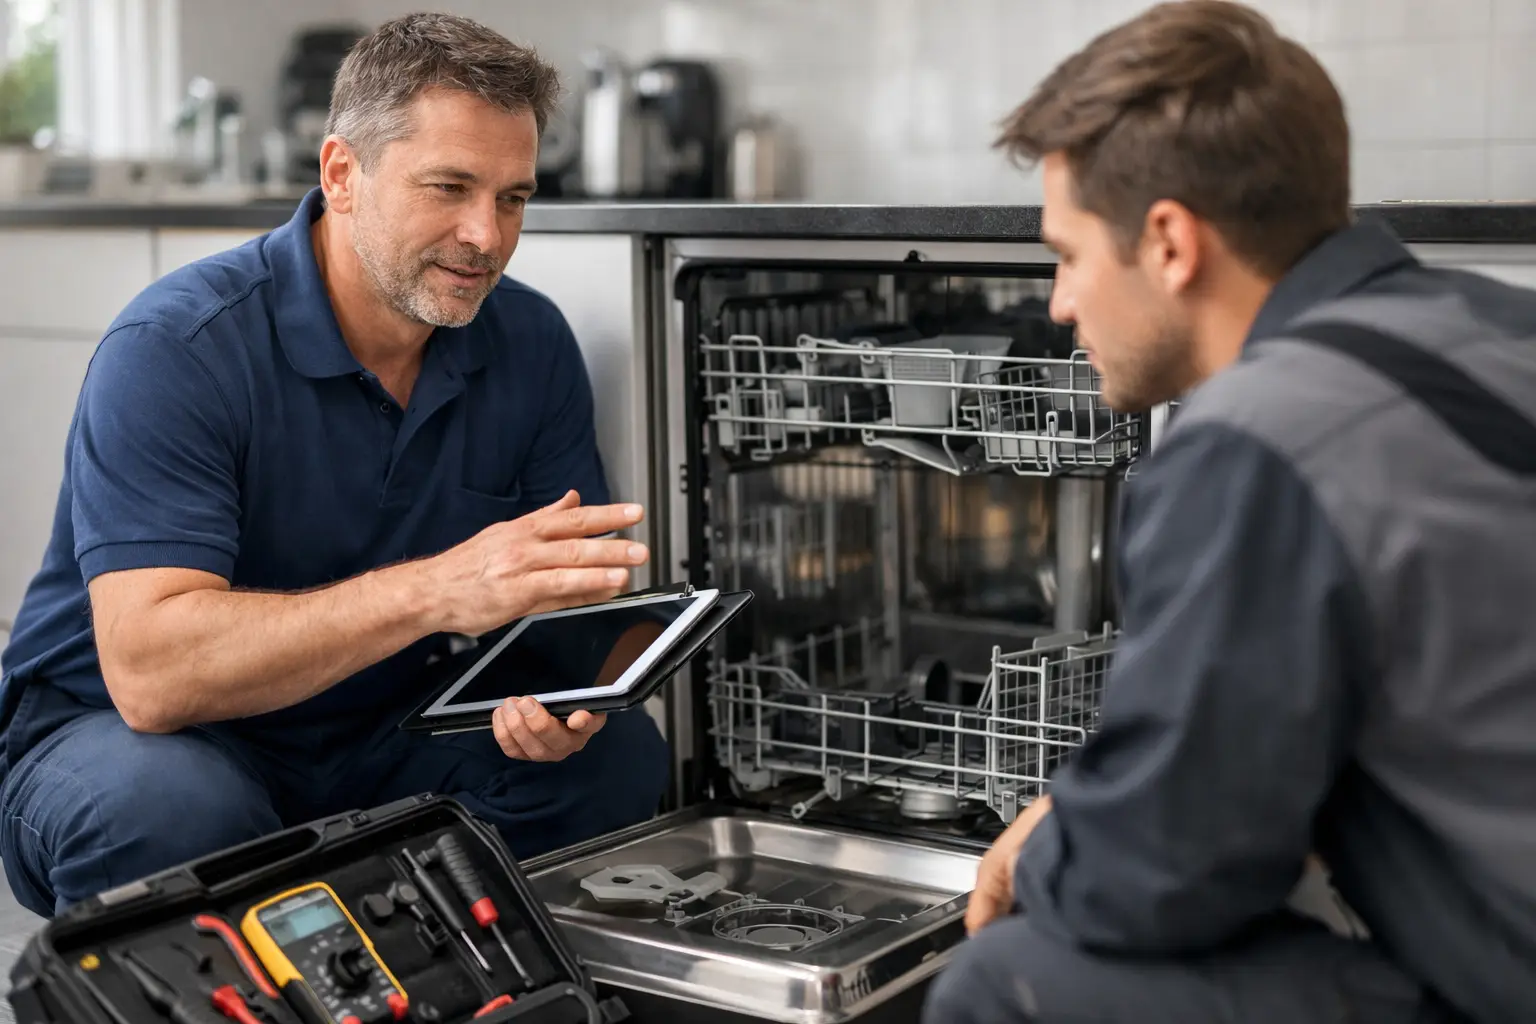
A dishwasher that will not drain is not automatically a bad drain pump. A unit that will not heat may have a failed heater, but it can also have an open high-limit thermostat, a wiring issue, a control-board relay problem, or a condition that prevented the control from advancing. The technician who guesses replaces parts. The technician with a repeatable process gets to the fault faster, protects the customer’s money, and builds a reputation that earns repeat business.
Dishwasher diagnostic workflow training teaches that process. For a new technician, it turns a complicated appliance into a set of systems that can be checked in order: incoming power, water fill, circulation, heating, draining, controls, sensors, and safety devices. That sequence is what makes paid service work possible. You do not need to memorize every model before your first job. You need to know how to safely collect evidence, test the right circuit, and explain the repair clearly.
Why a Workflow Beats Parts Swapping
Dishwashers combine line voltage, water, heat, moving components, electronic controls, and customer expectations in one tight cabinet. They can also produce symptoms that point in the wrong direction. A customer may say the dishwasher is leaking when the true issue is oversudsing from the wrong detergent. They may report that it is not drying when the actual problem is rinse aid settings, a failed vent, or a heater circuit fault.
A workflow keeps the job from becoming a trial-and-error exercise. It starts with the customer complaint and model identification, then moves through observations, safety checks, diagnostic mode when available, electrical tests, component verification, repair confirmation, and documentation. Every step has a purpose. You are narrowing the fault, not hunting for a convenient part to replace.
This matters for technicians building a career or an independent service business. Unnecessary parts create callbacks. Callbacks consume fuel, time, and trust. A clean diagnostic path helps you quote confidently, complete repairs on the first visit when possible, and leave a customer with a report that explains what happened.
The Core Dishwasher Diagnostic Workflow
Start with the complaint, not the component
Before pulling the dishwasher out, ask targeted questions. Does it fail at the start of the cycle, during wash, during drain, or at the end? Is there standing water in the tub? Does the customer hear the circulation motor? Is there an error code? Did the issue begin after a power outage, installation, detergent change, or plumbing work?
Then verify the basics in person. Confirm the model and serial information. Inspect the door latch, racks, spray arms, filter, drain hose routing, water supply connection, and visible wiring. Look for a kinked drain hose, a blocked air gap, debris under the filter, signs of a rodent-damaged harness, or a loose terminal. A five-minute visual inspection can prevent an hour of unnecessary electrical testing.
Control the hazard before testing
Dishwasher work begins with safe access. Shut off power at the breaker when opening panels or handling wiring, and use lockout/tagout practices when the work environment calls for them. Verify that power is off with a meter before touching conductors. Shut off the water supply before disconnecting fill components.
Live-voltage testing is sometimes necessary, but it is never a default move. It should be deliberate, performed with the right meter settings, proper probe placement, dry work conditions, and a clear understanding of what measurement will prove. A technician who cannot explain why a live test is needed should not be performing it.
Use the cycle sequence to isolate the failure
A dishwasher follows a predictable order: fill, wash, drain, rinse, heat, and dry functions depending on the model and cycle. Knowing where the machine stops is one of the fastest ways to narrow the system involved.
If the dishwasher will not fill, check the water supply, float or flood protection condition, inlet valve circuit, and control output. If it fills but does not wash, move toward the circulation motor, capacitor where applicable, motor winding checks, harness connections, and control commands. If it washes but leaves water behind, inspect the filter and sump area, then evaluate the drain hose, disposal connection, drain pump, pump obstruction, and voltage supplied during the drain command.
Heating complaints require extra discipline. Do not condemn a heating element based only on a customer saying dishes are wet. Confirm the complaint, inspect the element, check resistance according to the manufacturer’s specifications, and test related thermostats, thermistors, wiring, and control operation. Different brands use different logic. Some models will not energize heat if they cannot confirm proper circulation or water conditions.
Read codes as clues, then test the circuit
Error codes save time, but they are not a repair diagnosis by themselves. A code may identify a failed component, a circuit condition, or simply a result the control did not expect. For example, a drain-related code can be caused by a restriction in the plumbing path, a jammed pump, an open harness, low voltage at the pump, or a failed control output.
A trained technician uses the code to choose the next test. That may mean checking continuity with power removed, measuring resistance across a thermistor, verifying voltage to a motor during the correct portion of the cycle, or inspecting a wiring diagram for connectors and pin locations. The goal is evidence. Replace a part because the test supports the decision, not because the code sounds like the part name.
The Electrical Skills That Make Diagnostics Pay
Many dishwasher failures come down to electrical fundamentals. New technicians need more than a basic understanding of a multimeter. They need to know when to use voltage, resistance, continuity, and diode testing, and when each test can be misleading.
Resistance testing is useful for checking a disconnected heating element, valve coil, motor winding, thermostat, or harness path. But a component can show acceptable resistance and still fail under load. Voltage testing can confirm whether the control and wiring are delivering power during the commanded operation. Neither test works well without context. You need the wiring reference, the expected operating sequence, and a safe test plan.
Voltage drop also matters on intermittent or high-load faults. A corroded connection may look acceptable during a static continuity check but fail when the circulation motor or heater is operating. This is where field judgment develops. The correct test depends on the symptom, the design, and what has already been proven.
Train for the Job Ticket, Not Just the Bench
A repaired dishwasher is only part of a completed service call. Professional technicians document the original complaint, observations, test results, parts used, repair performed, and final functional check. That record protects the business, helps with future callbacks, and gives the customer a clear reason to approve the work.
Customer communication should be direct. Explain the failed system in plain language, identify the repair recommendation, and set realistic expectations. If a dishwasher has a failed control board on an older unit, the best answer may depend on part availability, overall condition, repair cost, and the customer’s plans. Good technicians do not force every appliance into a repair. They provide the facts and let the customer make an informed decision.
That approach is especially valuable for technicians who want to own a service company. Technical ability gets you through the door. Accurate diagnosing, clear estimates, clean documentation, and reliable follow-through are what turn a single repair into a durable business.
What Field-Ready Training Should Include
Watching repair videos can introduce component names, but it rarely gives beginners a complete decision path. Field-ready dishwasher training should require you to work through real-world scenarios, interpret symptoms, choose meter tests, read wiring references, and justify the repair decision. It should also teach the systems around the repair: safety procedures, customer documentation, job ticketing, and the business side of service work.
At Appliance Repair Academy, dishwasher training fits into a structured 12-week path that starts with safety, tools, and electrical testing before moving into appliance-specific diagnostics. Students work through more than 80 scenario-based simulations, graded coursework, and a final 75-question certification assessment. Paid tuition also includes a 12-month subscription to the Appliance Repair Assistant AI app, providing photo-based fault detection, error-code lookup, wiring references, multimeter guidance, job ticketing, and customer-ready reporting.
AI can speed up information retrieval in the field, but it does not replace technician judgment. A wiring reference cannot tell you whether you verified the right connector. An error-code lookup cannot inspect a blocked drain hose. The technician still owns the test, the safety decision, the repair recommendation, and the customer relationship.
A dependable workflow gives you something more valuable than a shortcut: a way to walk into an unfamiliar dishwasher call, stay organized under pressure, and produce a repair decision you can stand behind. Explore dishwasher curriculum resources through Appliance Repair Academy, and download the companion Appliance Repair Assistant AI app to pair guided information with hands-on diagnostic skill.