Dishwasher Leak Diagnosis for Field Technicians
Learn a technician-first dishwasher leak diagnosis workflow: isolate the source, test components safely, document findings, and build repair-ready skills.
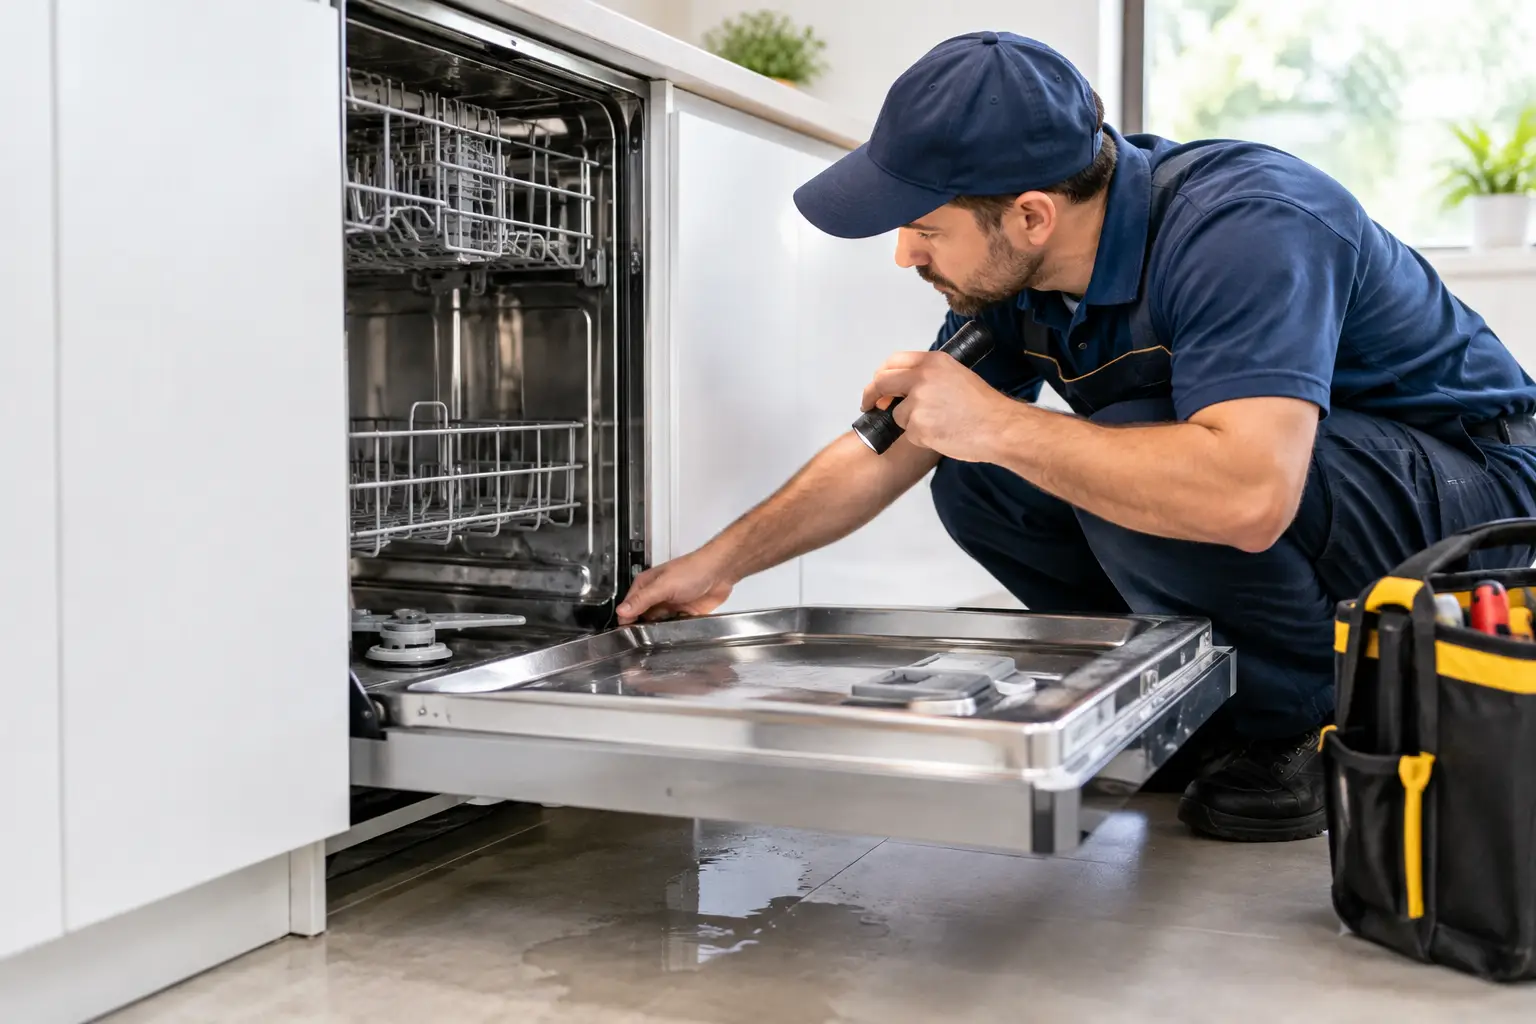
A dishwasher leak is not one symptom. It is a field problem that can involve water supply pressure, drain-back conditions, door geometry, wash-arm spray patterns, detergent chemistry, or a failed component hidden below the tub. A professional dishwasher leak diagnosis starts by identifying exactly where the water begins, not by replacing the first seal that looks suspicious.
For an entry-level technician, this is the difference between a callback and a repair customers will recommend. For an independent service business, it is also the difference between a vague invoice and a documented finding that supports the repair authorization. The goal is simple: control the water, reproduce the complaint, isolate the failure, and verify the repair through a complete test cycle.
Start Dishwasher Leak Diagnosis With Safety and Evidence
Before moving the dishwasher, protect the work area and collect the customer’s description of the failure. Ask when the leak appears: during fill, only while washing, near the end of the cycle, after the cycle ends, or when the dishwasher is not running. That timing narrows the system quickly.
A leak during fill points toward the inlet valve, fill hose, water-level control issue, or an internal overfill condition. A leak during wash often involves the door seal, lower spray arm, sump, pump seal, or a split hose. Water appearing after the dishwasher has been off may be a drain hose routing problem, sink backflow, or a supply-line drip that was missed during the first inspection.
Follow basic electrical and water safety before pulling the unit. Shut off power at the breaker or use proper lockout/tagout procedures where applicable. Turn off the water supply valve. Protect flooring, place absorbent pads around the cabinet opening, and keep a wet/dry vacuum ready. A dishwasher can retain water in the sump, hoses, and drain loop even after power is disconnected.
Take photos before disassembly. Photograph the supply connection, drain hose routing, base pan, visible corrosion, and any wet areas under the unit. This documentation becomes part of the job ticket and helps explain whether the repair is limited to one component or whether the customer also needs to address cabinet or flooring damage.
Build a Leak Map Before You Remove Parts
Pulling a dishwasher without a plan wastes time. Start with a visual leak map. Look for mineral tracks, rust marks, detergent residue, warped insulation, and dust patterns disturbed by water. Fresh water may not leave a clear trail, but older leaks usually do.
Inspect the water supply connection at the shutoff valve and inlet valve first. A compression fitting, elbow fitting, or supply hose can seep slowly and run along the frame, making the leak appear to come from the bottom of the dishwasher. Dry the area, then use a flashlight and paper towel while the water supply is turned back on. A paper towel often reveals a small seep faster than a visual inspection alone.
Check the drain hose next. Look for cracks, loose clamps, pinched hose sections, and improper routing. The high loop or air-gap arrangement matters because a poorly routed drain line can allow dirty sink water to return to the dishwasher. That may look like a leak complaint when the real issue is backflow or an overflow caused by a blocked disposal inlet.
Remove the toe kick and inspect the base. Some models use a drip tray or float switch in the base pan. Water in that area may activate a leak protection fault and prevent normal operation. Do not assume the base-pan water is the source. It may simply be where water collected after leaking from the door, pump, or inlet assembly.
Door Leaks Are Not Always Bad Door Gaskets
Door leaks are among the most misdiagnosed dishwasher problems. A flattened, torn, or contaminated door gasket can certainly leak, but it is not the only cause. Inspect the gasket for cuts, hardened sections, food debris, and areas where it has pulled away from its channel. Check the lower door seal or deflector as well, especially when water is escaping near the bottom corners.
Then inspect the door itself. Loose or damaged hinges, a bent latch strike, worn door springs, or a dishwasher that is not level can prevent proper sealing. If the machine is tilted too far forward, water can surge toward the door during circulation. A slight rearward pitch is often necessary, but always follow the manufacturer’s installation specification.
Spray-arm damage can imitate a gasket failure. A cracked lower spray arm, blocked jet, or arm that is striking a rack can direct a hard stream of water straight at the door. Run a controlled test with the outer door panel removed only when safe to do so. Watch the lower corners, side seams, and vent area as the circulation pump runs.
Leaks From Below the Tub Need a Controlled Test
When the source appears below the tub, inspect the sump, circulation pump, drain pump, hose connections, clamps, and water inlet valve. Look for water tracks around pump housings and for white mineral buildup around seals. A pump may leak only under pressure, so an inactive machine can look completely dry.
Use a staged test rather than immediately starting a full cycle. Restore water and power safely, then observe the machine during fill. Stop and inspect. Next, observe the circulation phase. Stop and inspect again. Finally, observe draining. This sequence isolates whether water is escaping under supply pressure, wash-pump pressure, or drain-pump pressure.
A circulation pump seal can leak only when the motor is running. A drain pump may leak at the housing seam or outlet connection only during drain. An inlet valve may drip from its body or fitting after the fill valve closes. Each failure has a different repair path, and the timing of the leak is your strongest clue.
Verify the Cause Instead of Selling a Guess
Technicians earn trust by separating evidence from assumption. If you find a wet door gasket, clean it and inspect it, but do not automatically sell a replacement without checking spray-arm pattern, door alignment, and level. If a pump housing is wet, verify whether the water originates at the seal, a nearby hose, or a drip from above.
Detergent is another variable. Excess detergent, the wrong detergent type, or rinse-aid overuse can create heavy sudsing. Suds can push water past a healthy door seal and produce an intermittent leak. Ask what product the customer uses and whether the issue began after a detergent change. This does not eliminate the need for a mechanical inspection, but it can prevent an unnecessary part replacement.
Use electrical testing when the failure involves a fill valve, float switch, leak sensor, or control response. Verify voltage at the appropriate point in the cycle, check continuity only with power disconnected, and compare readings to the wiring information for that model. A float switch that fails to respond can contribute to overfill, while a control that continues filling despite a correct float signal may require deeper circuit diagnosis.
After the repair, reinstall panels, secure all hoses, restore the dishwasher to its correct position, and run a final operational check. Confirm fill, wash, drain, and door performance. Look under the unit one final time with a flashlight. A repair is not complete because the part was installed. It is complete when the original complaint is gone and the work area is dry.
Turn Leak Calls Into Repeatable Field Work
Dishwasher leak calls reward technicians who use a repeatable workflow. The same process works whether the fault is a loose inlet fitting, a damaged spray arm, a worn pump seal, or a base-pan leak sensor event: document the complaint, establish timing, map the water path, test one system at a time, and verify the finished repair.
This is the kind of practical reasoning that turns appliance repair from part swapping into a paid technical skill. Students at Appliance Repair Academy practice structured diagnostic workflows across real service scenarios, including electrical testing, customer documentation, and repair decisions that affect both safety and profitability.
Build the habit of diagnosing before replacing. Explore Appliance Repair Academy resources for hands-on technician training, and use the companion Appliance Repair Assistant AI app to organize fault information, testing steps, and customer-ready job documentation while you build field confidence.