How to Test Appliance Voltage Without Guesswork
Learn how to test appliance voltage with a safe, repeatable multimeter workflow for 120V and 240V circuits, so you can diagnose power faults accurately.
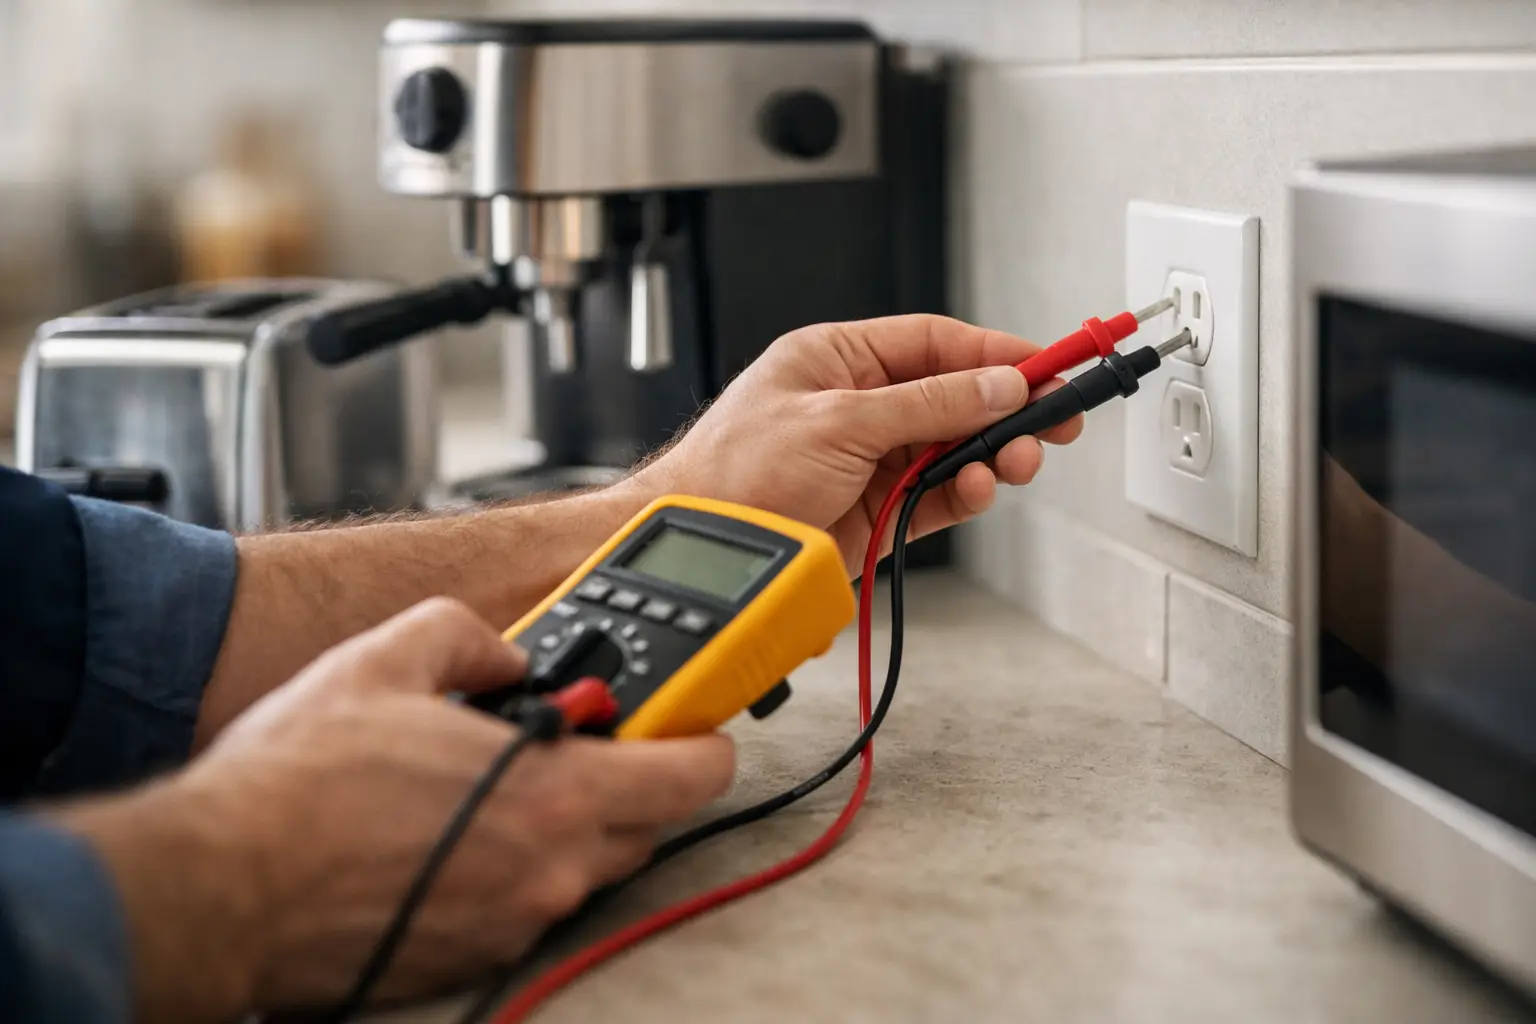
A no-start dryer, dead oven display, or refrigerator that will not cool can all point to the same first question: is the appliance receiving the voltage it needs? Knowing how to test appliance voltage turns that question into a repeatable diagnostic step instead of a guess. It also separates technicians who replace parts on suspicion from technicians who verify the circuit, document the readings, and repair the actual fault.
Voltage testing involves energized circuits, and energized appliance work can cause severe shock, arc flash, burns, or equipment damage. If you are not trained and qualified for live electrical testing, stop at the visual inspection and refer the work to a qualified technician. For technicians in training, voltage checks should follow a defined safety process, not improvisation at a customer's kitchen counter.
Start With the Right Meter and Safety Setup
A voltage reading is only as reliable as the meter, leads, and setup behind it. Use a quality digital multimeter rated for the environment you are testing. For common residential appliance circuits, a CAT III, 600-volt-rated meter and intact test leads are a practical baseline. Inspect the probes before every job. Cracked insulation, loose probe tips, damaged strain relief, or leads with exposed metal beyond the tip are reasons to remove that equipment from service.
Confirm the meter leads are in the correct ports before touching the appliance. The black lead goes in COM. The red lead goes in the voltage-resistance port, not the high-amperage port. A lead left in the amperage jack can create a direct short when you place it across a voltage source.
Set the meter to AC volts, typically shown as V with a tilde or wave symbol. Do not use resistance, continuity, diode, or amperage settings on an energized circuit. Those functions have their place, but they require a de-energized circuit and proper lockout/tagout procedures.
Before testing the appliance, prove your meter on a known voltage source. After the test, prove it again. This known-live, test, known-live process helps catch a failed meter, bad lead, or poor probe connection before a false zero-voltage reading sends you down the wrong diagnostic path.
How to Test Appliance Voltage at the Power Source
Start at the source of power, not at the suspected component. A failed heating element may be obvious after testing, but it does not matter if the dryer is missing one leg of its 240-volt supply. Build your workflow from the wall outlet or disconnect toward the appliance's terminal block, control board, and load.
For a standard 120-volt receptacle, place one probe on the hot slot and the other on neutral. A healthy reading will usually be close to 120 volts AC, though the exact number can vary. Then test hot to ground. That should also be close to 120 volts. Neutral to ground should normally be near zero volts.
These three readings tell a story. If hot-to-neutral is dead but hot-to-ground has voltage, you may have an open neutral. If hot-to-neutral has voltage but hot-to-ground does not, investigate the grounding path and verify your test method. If neither test has voltage, the issue may be upstream at the breaker, GFCI, disconnect, wiring, or receptacle.
A 240-volt appliance circuit needs a different check. At a four-wire range or dryer receptacle, test the two hot legs together first. You should read approximately 240 volts. Then test each hot leg to neutral. Each should read approximately 120 volts. Test each hot leg to ground as well, which should also be around 120 volts on a properly wired circuit.
A common field failure is one tripped breaker pole or one burned connection. In that case, a dryer may still light up because the control circuit has 120 volts, while the heater will not operate because the full 240 volts are missing. The same principle applies to electric ranges, wall ovens, and many high-voltage cooking appliances.
Check the Plug, Cord, and Terminal Block
If the outlet readings are correct, move downstream. Disconnect power before removing access panels, then inspect the power cord, plug blades, strain relief, and terminal block for heat damage, corrosion, loose hardware, or melted insulation. A burned terminal block can create voltage loss only when the appliance is under load, making a quick visual inspection as valuable as the meter reading.
Once panels are safely positioned and live testing is justified, compare the voltage at the appliance terminal block with the voltage at the receptacle. If the outlet is correct but the terminal block is not, suspect the cord, plug, or connection. If both are correct, the supply path is likely intact and you can continue into the appliance circuit.
Do not force probes into crowded connectors or allow probe tips to bridge adjacent terminals. Use insulated probe tips, secure the appliance so it cannot move, keep the work area dry, and maintain control of the meter leads. The goal is a clean measurement, not speed.
Follow Voltage Through the Appliance Circuit
Once incoming power is verified, use the wiring diagram to identify the path to the component that is not operating. Appliance diagrams show more than wire colors. They reveal which switches, relays, fuses, thermostats, door locks, and control-board outputs must close before voltage reaches the load.
For example, a dryer heating circuit may route one leg of supply through a control relay, high-limit thermostat, thermal cut-off, cycling thermostat, and heating element. An electric oven may route power through a relay board and temperature safety device before it reaches the bake or broil element. A dishwasher may require a closed door switch and a control command before the circulation motor receives voltage.
Test across the two terminals of the load when the appliance is calling for that load to run. A reading near the rated supply voltage tells you the component is being commanded and powered. If the component does not operate with proper voltage applied, shut power off, lock out the circuit, and test the component's resistance and continuity according to the service information.
If you read zero volts across the load during an active call, do not immediately condemn the load. Work backward through the circuit. Find the point where voltage disappears. Is the board failing to close a relay? Is a thermal fuse open? Is the door switch not proving closed? Is a harness connector loose? This is the core diagnostic habit: identify the missing condition, then verify why it is missing.
Know When a Reading Can Mislead You
Not every number on a screen means usable power. Digital meters have high input impedance, so they can display ghost voltage induced through nearby wiring or electronics. You may see a low or unstable reading on a disconnected wire even though it cannot deliver current to a load. Confirm questionable readings with the wiring diagram, a known-good test point, and the correct meter function.
Voltage can also look normal with no load but collapse when a heater, motor, or compressor circuit is energized. Loose terminals, damaged wire connections, weak receptacles, and failing relays can create this voltage drop. When the service procedure supports it, compare readings at the source and load while the circuit is operating. A significant difference points to resistance somewhere between those two locations.
Modern appliances add another layer. Inverter-driven compressors, variable-speed motors, induction cooktops, and electronic control boards may use DC voltage or high-frequency signals that are not evaluated with a basic AC voltage check. Do not apply a standard 120- or 240-volt testing method to low-voltage communication circuits, inverter outputs, or board test pins unless the manufacturer documentation calls for it.
Document Readings Like a Working Technician
A useful service note does not say, “Checked voltage, okay.” It records where you tested, what operating condition existed, and what the meter showed. For example: “L1 to L2 at terminal block measured 241 VAC. L1 to neutral measured 120 VAC. L2 to neutral measured 0 VAC. Found open L2 at receptacle.” That documentation supports the repair recommendation and makes your diagnosis easier to defend.
This discipline matters whether you work for an established service company or plan to build your own route. Customers do not pay for part-swapping. They pay for a technician who can isolate a failure, explain it in plain language, and leave a clear record of what was found.
Voltage testing is one of the first electrical skills that becomes profitable when it is paired with safety, wiring-diagram literacy, and a repeatable diagnostic workflow. Explore Appliance Repair Academy content to build those field-ready habits, then download the Appliance Repair Assistant AI app to support wiring references, multimeter guidance, and customer-ready reporting on the job.