Washer Vibration Troubleshooting for Techs
Washer vibration troubleshooting starts with a diagnostic workflow. Learn how technicians isolate common load, leveling, suspension, and bearing faults.
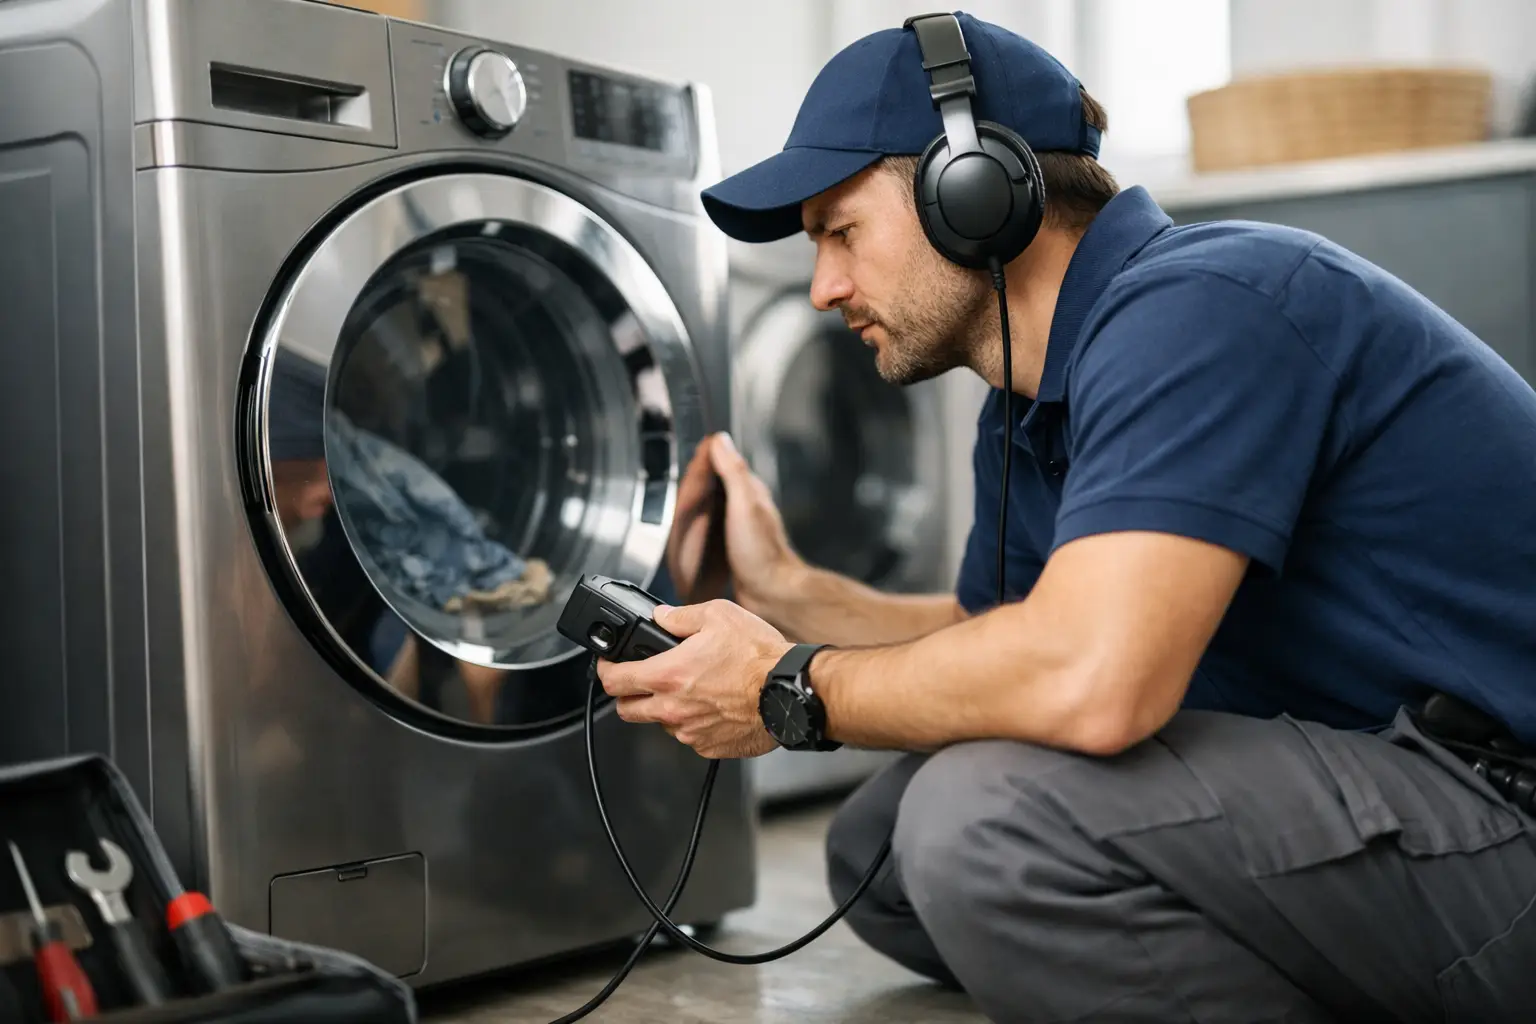
A washer that walks across a laundry room is not just noisy. It is a customer complaint that can point to a simple installation correction, a worn suspension system, or a costly tub-and-bearing failure. Strong washer vibration troubleshooting separates those conditions before parts are ordered. That protects your margin, prevents callbacks, and gives the customer a clear explanation of what they are paying to fix.
For a new technician, vibration complaints are also a lesson in diagnostic discipline. The visible symptom may be a shaking cabinet, but the root cause can involve the floor, the machine setup, the load, the basket support, or a mechanical fault below the tub. Start with evidence, not assumptions.
Washer Vibration Troubleshooting Starts With the Complaint
Ask when the vibration happens. A machine that shakes only during high-speed spin follows a different diagnostic path than one that bangs during agitation, grinds as the basket turns by hand, or moves as soon as water enters the tub. Find out whether the issue began after delivery, after a move, after a repair, or gradually over months of use.
Then ask what the customer sees. “It vibrates” can mean a normal out-of-balance event, a cabinet that rocks because one foot is off the floor, a tub striking the cabinet, or a basket that wobbles on its shaft. If possible, have the customer describe the load size and type. A single wet comforter or a few heavy bath mats can create a legitimate imbalance even in a healthy washer.
Before removing panels, inspect the installation. Confirm the washer is empty, unplug it, turn off the water supply if hoses must be moved, and use lockout/tagout practices when the job calls for the appliance to remain out of service. Verify that the drain hose and fill hoses are not binding against the cabinet or wall. A washer shoved tight against a dryer, wall, or pedestal can transmit normal spin movement into a loud complaint.
Rule Out Load, Leveling, and Floor Problems First
The fastest successful repair is often not a repair at all. Place a level across the washer from side to side and front to back, then physically test all four feet. The cabinet should not rock when pressure is applied to each corner. Adjust the leveling feet until each foot bears weight, then lock the feet according to the manufacturer’s design.
Leveling matters, but do not treat it as a universal cure. A properly leveled washer can still vibrate on a weak or uneven floor. Second-story laundry closets, old wood subfloors, and flexible platforms can amplify spin forces. The practical question is whether the washer itself is moving excessively or whether the building structure is transmitting normal vibration. A technician should explain that difference plainly rather than promising a new suspension system will solve a floor problem.
For recently installed front-load washers, check for shipping bolts. Leaving transport bolts in place can create severe vibration and damage the washer during spin. This is a high-value visual check because the symptom is dramatic and the correction is straightforward. Document what you found, including the number of bolts removed and any evidence of damage.
Load behavior is next. Run an empty spin test if the model allows it, followed by a controlled test load. If the empty machine is stable but a bulky mixed load causes violent movement, teach the customer basic load distribution and consider whether the machine is being overloaded. If it shakes badly empty, move beyond customer-use factors and inspect the machine.
Inspect the Tub Support System
The suspension design depends on the washer platform. Many top-load units use suspension rods, springs, snubber pads, or a combination of those components. Front-load washers commonly use shock absorbers and springs that suspend the outer tub inside the cabinet. Your job is to determine whether the tub is controlled correctly through its range of movement.
With power disconnected, press the tub down and release it. This is a screening test, not a final diagnosis. Excessive bouncing, a loose feel, or an obvious clunk suggests worn dampers, weak suspension rods, damaged springs, or a displaced component. Compare movement side to side. A tub that leans or rebounds differently in one direction deserves closer inspection.
On a top-load washer, inspect each suspension rod seat and spring area for wear, broken plastic, rust, or an unseated rod. Check snubber pads where applicable. A worn snubber can allow the tub platform to shift aggressively during spin. Also inspect the tub ring or balance ring. A damaged, loose, or separated ring may create banging and imbalance symptoms that customers mistake for a bad motor.
On a front-load washer, inspect the shocks for loose mounting pins, broken brackets, oil leakage where relevant, and weak damping. A failed shock can let the tub strike the cabinet during acceleration or deceleration. Replace suspension components in matched sets when the manufacturer and failure condition support it. Replacing one visibly weak damper while leaving its equally aged partner in service can produce an uneven result and a return visit.
Check for Basket, Bearing, and Drive Faults
Once installation and suspension checks are complete, evaluate the basket and drive system. Rotate the basket or drum by hand. Listen for grinding, rumbling, scraping, or a repeating metallic sound. Lift gently on the inner basket or front-load drum and check for excessive play. Significant movement at the basket can indicate worn bearings, a failed tub seal, a damaged spider assembly, or a basket-drive issue, depending on the machine design.
Bearing failures often become more obvious as spin speed rises. The customer may report a roar that starts before the washer begins to shake. Water stains, rust trails, or debris near the rear tub area can support a seal-and-bearing diagnosis. Do not confuse a noisy bearing with a suspension problem just because both can produce vibration. A worn bearing creates rotational instability; failed suspension allows normal tub forces to move the assembly too freely.
Inspect the pulley, belt, rotor, and drive components as the platform allows. A loose pulley bolt, cracked pulley, damaged belt, or foreign object near the drive can cause a repetitive thump or vibration. On direct-drive designs, check mounting hardware and look for physical evidence of contact. Any component that is loose, cracked, or rubbing can become far louder at spin speed.
This is where repairability matters. A bearing or spider failure may require a major teardown or a complete outer tub assembly, depending on the model. Give the customer an honest option analysis: repair cost, remaining condition of the appliance, expected labor, and replacement value. A technician earns trust by recommending the right financial decision, not by forcing every machine into a repair.
Use a Repeatable Spin-Test Workflow
A controlled test prevents guesswork. After your visual inspection, run the washer through a spin or diagnostic test while observing it from a safe position. Never bypass door locks or safety switches simply to watch the mechanism operate. Watch the tub during ramp-up, full spin, and coast-down. The point when vibration appears is diagnostic information.
Vibration during ramp-up may indicate an out-of-balance load response, weak suspension, or a tub that is not centered. Vibration that intensifies with speed, paired with rumbling, points more strongly toward bearings or rotating components. A single hard knock during direction changes can indicate a loose suspension part, counterweight hardware, or a worn basket-drive component.
Record the model number, complaint, inspection results, test conditions, error codes, and final recommendation. Customer-ready documentation turns a vague noise complaint into a defensible repair decision. It also helps when a service company needs to quote parts or when a customer chooses to delay a major repair.
Build the Diagnostic Skill That Pays
Washer vibration work looks basic from the outside, but it trains the habits that separate a parts changer from a technician: isolate the condition, verify the cause, assess repairability, and document the result. Those habits transfer directly to motor faults, thermistor diagnostics, refrigeration airflow issues, and every other appliance category.
Appliance Repair Academy teaches that field-ready approach through a structured 12-week program, technician-built lessons, 80-plus scenario-based simulations, and support for learners preparing for employment or independent service work. The companion AI diagnostic app can help organize fault details, reference error codes, and produce customer-facing reports while the technician still makes the call.
Build your diagnostic process before your first truck roll. Build your diagnostic process before your first truck roll. Explore Appliance Repair Academy training resources at appliancerepairacademy.org and download the companion AI-powered diagnostic app at appliancerepairai.org/download to practice the workflow that turns a vibration complaint into a confident, profitable service decision.