Lockout Tagout Appliance Repair Safety for Techs
Learn lockout tagout appliance repair procedures that protect technicians, prevent repeat service calls, and build a field-ready safety workflow daily.
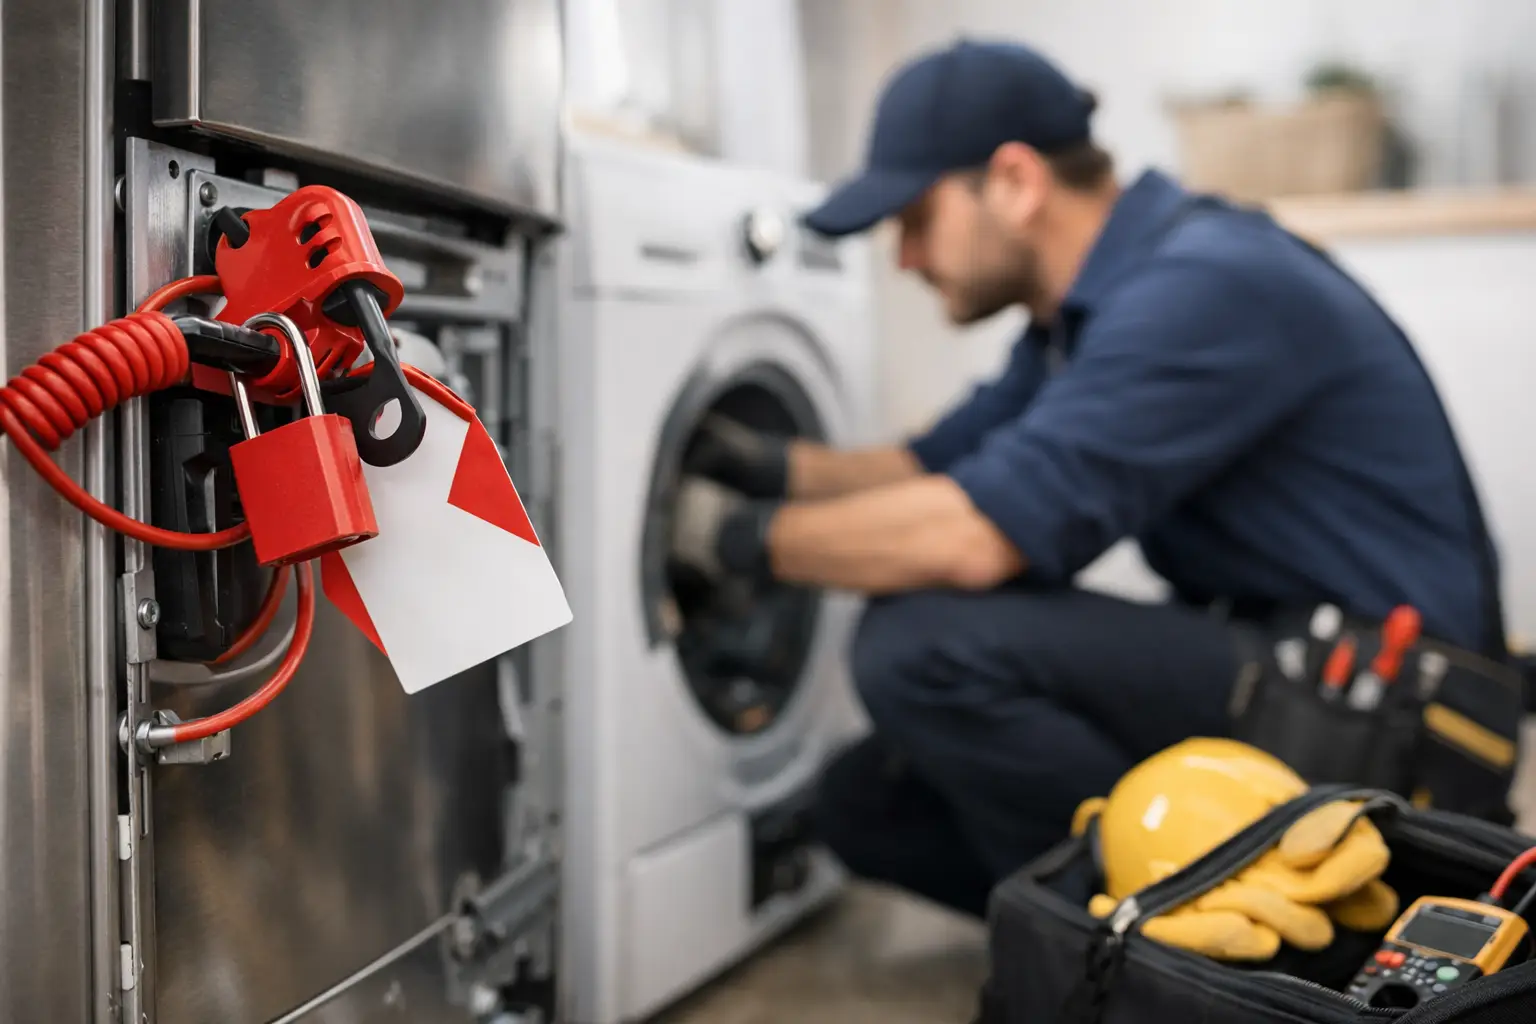
A dryer that appears dead can still have 240 volts waiting at the terminal block. A refrigerator may be unplugged but retain energy in a capacitor. A dishwasher can have electrical power, water pressure, and a sharp-edged cabinet all working against an unprepared technician. That is why lockout tagout appliance repair is not paperwork or a jobsite formality. It is a repeatable field habit that protects your body, your customer’s home, and your ability to keep earning.
For a new technician, the goal is simple: control hazardous energy before your hands enter the repair. The method changes based on the appliance, the power source, and whether you are working alone or alongside another technician. The discipline does not change.
Why lockout/tagout matters in appliance service
Appliance repair often happens in occupied homes, tight laundry closets, busy restaurant kitchens, and property-management units where electrical panels may be poorly labeled. Customers are nearby. Family members may reset a breaker because they think they are helping. Another maintenance worker may be on site. Those are real conditions, not classroom hypotheticals.
A proper lockout/tagout process establishes control. It tells everyone that a circuit or appliance is being serviced, prevents an unexpected restart, and requires the technician to verify that power is truly absent before beginning work.
Unplugging an appliance is usually the first step, but it is not automatically the whole procedure. If the plug is visible, under your control, and cannot be reconnected by someone else, unplugging may control the primary electrical source. If the cord disappears behind cabinetry, the appliance is hardwired, or the circuit must remain isolated while you work away from the receptacle, use a lockout device at the disconnecting means or breaker when site conditions and company procedures call for it.
The trade-off is speed versus control, and control wins. Saving two minutes by assuming a breaker is off is a poor business decision when a shock injury, damaged control board, or customer claim can cost far more.
A field-ready lockout tagout appliance repair workflow
The best procedure is one you can perform consistently on a first-time service call or your fifth job of the day. Build it into your diagnostic workflow before you remove a panel, pull a harness, or reach near a moving component.
Identify every energy source
Start by asking what can hurt you or move unexpectedly. Electrical energy is obvious on most appliances, but it is not the only concern. A gas range has electrical ignition and gas supply. A dishwasher may have an electrical junction box, water supply, and drain connection. A refrigerator can contain line voltage, stored electrical energy, pressurized refrigerant, and heavy doors or shelving.
For electric dryers and ranges, identify the correct double-pole breaker. For hardwired dishwashers, disposals, wall ovens, and cooktops, locate the local disconnect or the serving breaker. Do not trust a panel directory without checking it. Labels are frequently outdated, especially in rental properties and remodeled homes.
Shut down and isolate the equipment
Turn the appliance controls off first. Then disconnect the actual energy source. For a cord-connected appliance, remove the plug and retain control of it whenever possible. A plug lockout device can prevent reconnection where the plug must remain accessible to others.
For a hardwired unit, open the disconnect or switch off the breaker. Apply the appropriate breaker lockout and personal lock when your work environment requires formal lockout/tagout. Attach a durable tag that identifies you, gives a contact method, and states that the equipment is under service.
Your lock is personal. No one should remove it except under an established emergency or company procedure. Never borrow another technician’s lock or let someone else apply your lock for you. The point is personal accountability: the technician exposed to the hazard controls the isolation.
Release or restrain stored energy
Turning off power does not always make an appliance safe immediately. Capacitors in microwaves, inverter-driven refrigerators, and certain motor circuits can store a dangerous charge. Follow manufacturer procedures for discharge and measurement. Do not short capacitor terminals with a screwdriver. That shortcut can create an arc, destroy components, and still leave you without a verified safe condition.
Also account for mechanical and fluid hazards. Support a raised washer top or dryer drum before working underneath it. Shut off water before disconnecting a dishwasher inlet line or washer valve. Close the gas valve before servicing gas components, then verify the appliance is safe to work on according to your training and local requirements.
Verify zero energy with your meter
Verification is where a technician turns a good intention into a safe repair. Use a properly rated multimeter and prove it works on a known live source before testing the appliance circuit. This is commonly called the live-dead-live method: test a known live source, test the isolated equipment, then retest the known live source.
At a 240-volt terminal block, check L1 to L2, L1 to neutral, and L2 to neutral when applicable. At a dishwasher junction box, test the supply conductors according to the wiring configuration. If your meter shows unexpected voltage, stop. Find the correct disconnect, a backfeed, a shared neutral issue, or another source before continuing.
A non-contact voltage tester can be useful for an initial screen, but it is not a substitute for meter verification. It can produce misleading readings around bundled conductors, electronic controls, and induced voltage. Field-ready technicians use the right test tool for the decision they are making.
Situations that demand extra caution
Some calls create a higher chance of error because the equipment design or work setting makes isolation less obvious.
Microwave service deserves special treatment. Even after unplugging, the high-voltage capacitor can retain a hazardous charge. A technician should understand the manufacturer-approved discharge and verification process before working inside the high-voltage section. If your skill level or training does not cover that work, do not improvise. Document the condition and escalate the job.
Inverter refrigerators also require a deliberate approach. Their control systems, compressor circuits, and capacitors can behave differently than conventional relay-start systems. Disconnect power, verify it is absent, and follow the wiring documentation for that model. Guessing based on a similar refrigerator is how parts get damaged and techs get hurt.
Multi-unit properties add another layer. You may find a panel with incomplete labels, an outlet controlled by a switch, or a shared circuit. Confirm the unit number, appliance location, and circuit identity with the customer or property contact. If you cannot establish safe control of the energy source, reschedule or escalate rather than forcing the repair.
Group lockout and customer communication
Most residential calls involve one technician, but not all jobs stay that simple. If two technicians are working on the same appliance, each person should have personal protection from re-energization. One lock for the whole crew leaves everyone dependent on one person’s actions. Group lockout procedures use a hasp or lockbox so each technician applies and removes their own lock.
Customer communication also matters. Before isolation, explain what you are shutting down and why. A clear sentence prevents confusion: “I’m locking out this breaker while I test the dryer so no one can restore power while the cabinet is open.” Customers usually appreciate the professionalism, especially when you explain that it protects their equipment as well as the technician.
Document the action on your job ticket when it affects service time or requires a customer decision. Note the breaker location, whether the panel labeling was inaccurate, and any unsafe condition that prevented work. Good documentation protects your business and gives the next technician a useful starting point.
Build safety into your diagnostic habits
Lockout/tagout is not separate from diagnostics. It is the controlled pause that lets you move from symptom to measurement without creating a new hazard. A strong technician isolates power, verifies the circuit, checks components with the correct test method, restores power only when the test requires it, and re-secures every cover and connection before returning the appliance to service.
That sequence also makes you more efficient. You spend less time chasing self-inflicted failures, avoid damaging boards during resistance testing, and present a more credible process to customers. Safety procedures are not a drag on income. They are part of the professional system that supports repeat business, referrals, and higher-value work.
A practical lockout/tagout kit
Keep your safety equipment organized with the tools you use every day. A practical kit includes a personal padlock, identification tags, a breaker lockout suitable for common residential panels, a plug lockout device, a lockout hasp for multi-tech work, and a properly rated multimeter. Add insulated hand tools, eye protection, gloves appropriate to the work, and a reliable work light.
The exact kit depends on your service mix. A technician focused on laundry appliances will encounter different access issues than someone servicing built-in cooking equipment or commercial refrigeration. But every technician needs a repeatable way to isolate, verify, and document hazardous energy.
Appliance Repair Academy (https://appliancerepairacademy.org) teaches the safety, electrical testing, and diagnostic workflows technicians need before they face live field conditions. Explore the Academy's training content, then download the Appliance Repair Assistant AI app (https://appliancerepairai.org/download) to support wiring references, multimeter guidance, and job documentation while you build hands-on confidence. The habit you establish before opening the first panel is the one that can protect your career for decades.
Keep reading
Learn this the repeatable way
The Appliance Repair Academy is a 12 week online certification taught by a working technician. Tuition is $949 and covers laundry, refrigeration, cooking, and dishwasher systems, with the Appliance Repair AI diagnostic app included for a full year.
Explore the program