Multimeter Testing for Appliance Repair Jobs
Build field-ready multimeter testing skills for appliance repair, from safe setup and voltage checks to resistance readings and confident diagnoses daily.
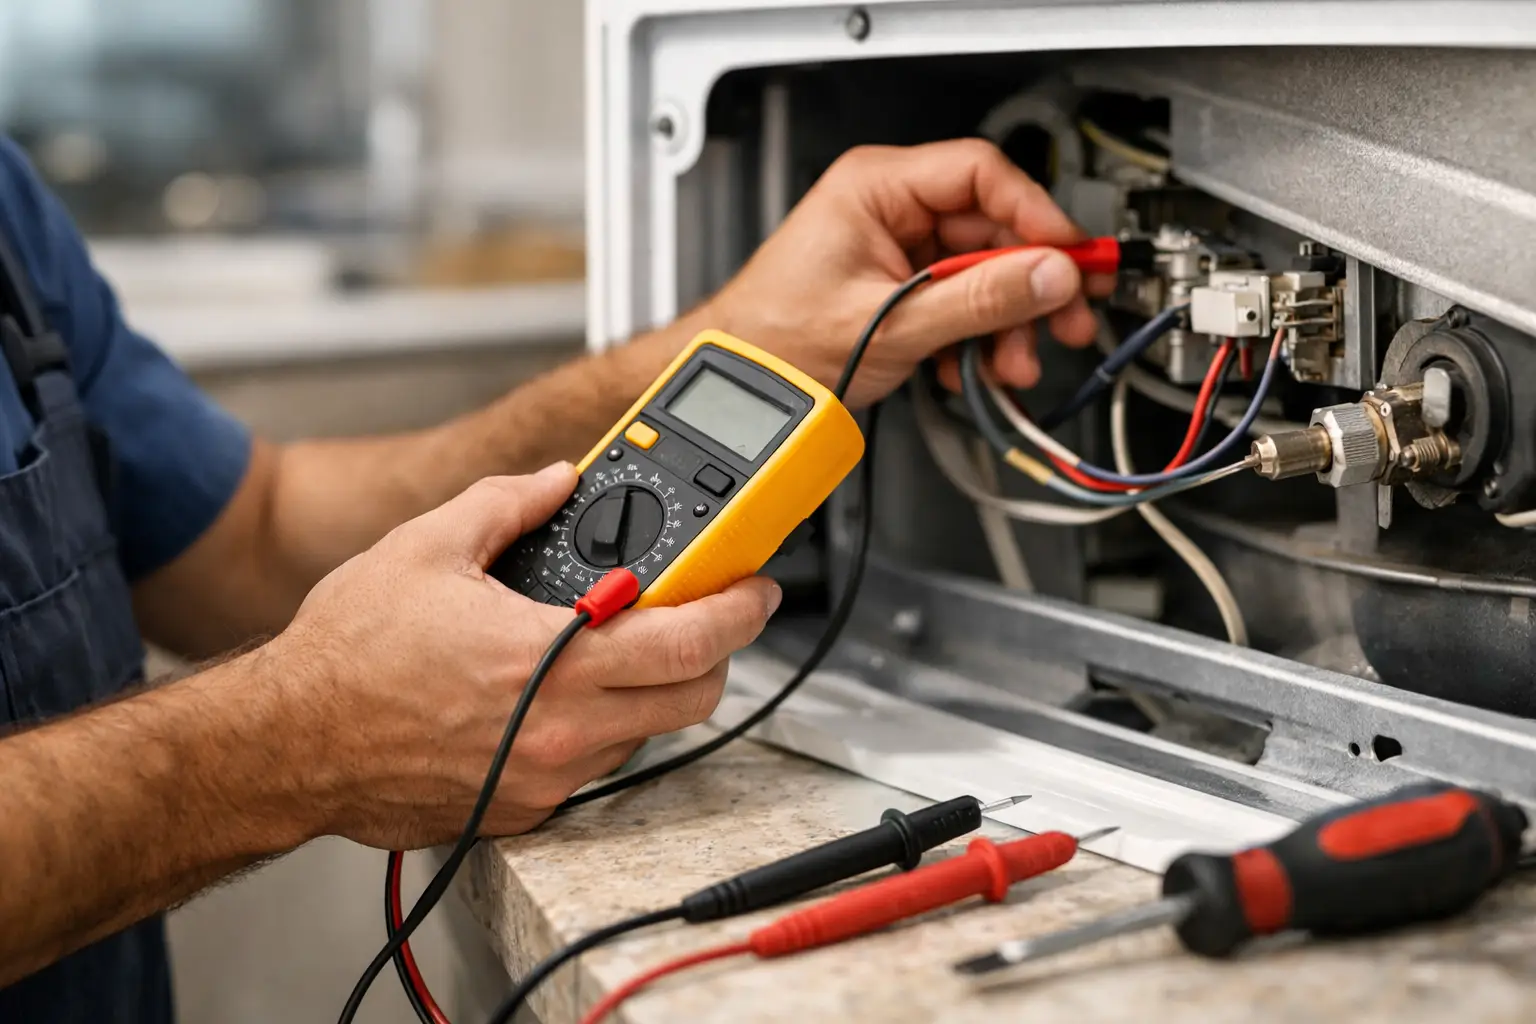
A customer says the dryer runs but never heats. The temptation is to order a heating element, install it, and hope the call is over. A technician uses multimeter testing first. In a few measured steps, they can determine whether the problem is an open element, a tripped thermal fuse, a failed control relay, a missing supply leg, or a loose connection. That is the difference between guessing at parts and getting paid for a diagnosis.
For appliance repair technicians, a multimeter is not just a basic tool in the bag. It is the tool that turns electrical symptoms into defensible repair decisions. Learning to use it correctly builds confidence, protects you from avoidable mistakes, and helps you complete jobs with documentation you can stand behind.
Why Multimeter Testing Drives Profitable Diagnostics
Most major appliances run on a predictable combination of voltage, resistance, continuity, and control signals. When one of those conditions is missing, the machine may display an error code, fail to start, stop mid-cycle, trip a breaker, or simply produce poor results. Your job is to identify which condition failed before replacing a component.
A multimeter lets you confirm what is actually happening in the circuit. Voltage testing shows whether power is reaching a component. Resistance testing helps identify whether a heater, motor winding, thermistor, valve coil, or fuse is electrically intact. Continuity testing quickly identifies an open safety device or broken wire when the circuit is de-energized.
That sequence matters for your income and reputation. Replacing parts without evidence creates callbacks, eats profit, and makes customers question your recommendation. A documented measurement gives you a clear reason for the repair: the thermal fuse is open, the heater has no continuity, or the board is not sending voltage when the diagnostic sequence calls for it.
Start With Safety and Meter Setup
Electrical testing starts before the probes touch the appliance. Disconnect power before resistance or continuity testing. Use lockout/tagout practices when appropriate, especially in training environments, shared work areas, or commercial settings where someone else could restore power. Never measure resistance on a live circuit. Doing so can damage the meter, damage the appliance control, or create a serious shock hazard.
For live voltage tests, expose only what you need to test. Inspect your leads for cracked insulation, loose probe tips, or damaged connectors. Confirm that your meter is rated for the job and that the leads are in the correct ports. The black lead normally goes into COM. The red lead goes into the voltage/ohms port for voltage, resistance, and continuity measurements - not the high-amperage port.
Before diagnosing the appliance, verify that the meter works. Test a known outlet or known-good power source. This simple habit prevents a wasted service call caused by a dead battery, incorrect meter setting, failed lead, or blown internal meter fuse.
A common beginner mistake is leaving the dial on resistance and then trying to measure live voltage. Build a reset habit: stop, identify whether the circuit is live or dead, select the measurement type, verify the lead ports, then test. Slow is smooth at first. Speed comes from repeating the right process.
Understanding the Core Settings
You do not need to memorize every symbol on day one. You do need to understand the settings you will use constantly in appliance work.
Voltage is measured in volts, shown as V. Most appliance service calls involve AC voltage, often shown as V~ or VAC. A standard US outlet should read roughly 120 VAC from hot to neutral. Many electric dryers and ranges require about 240 VAC across the two hot legs, with about 120 VAC from each hot leg to neutral.
Resistance is measured in ohms, shown as Ω. This setting is used with power disconnected to evaluate loads and sensors. A heating element with infinite resistance is open. A thermistor that reads far outside its expected resistance at room temperature may be defective, but always compare the reading to the manufacturer specification and account for temperature.
Continuity is usually indicated by a sound-wave symbol. The meter beeps when there is a low-resistance path between the probes. It is useful for checking fuses, door switches, harness wires, and thermal cutoffs. A beep is not a complete diagnosis by itself. A component can have continuity and still fail under load, and some parts are designed to show a measurable resistance rather than a near-zero reading.
A Repeatable Multimeter Testing Workflow
A good diagnostic workflow begins with the complaint, not with the meter dial. Ask what the appliance is doing, when it started, and whether the customer noticed a power outage, burning smell, water leak, breaker trip, or unusual noise. Then confirm the symptom yourself.
Next, consult the wiring diagram and identify the circuit involved. If a dishwasher will not fill, trace the water inlet valve circuit, float switch, door switch, harness, and control output. If a refrigerator is warm, separate airflow issues from compressor-start issues, thermistor diagnostics, defrost faults, and sealed system concerns. The meter confirms the circuit condition, but the wiring diagram tells you where to test.
Use this order whenever possible:
- Verify the power supply and polarity.
- Check the easiest safety devices and connections.
- Test the component itself with power disconnected.
- Restore power only when a live test is needed to verify control output.
- Record the readings, repair performed, and final operational result.
This is not a rigid rule for every model. Some diagnostics require a service mode, some boards need a specific cycle stage before they energize a load, and some components must be isolated from the circuit for an accurate resistance reading. The goal is to avoid jumping straight to the most expensive part.
Practical Tests You Will Use on Real Calls
On an electric dryer with no heat, first verify the supply. You may read 120 VAC at the outlet and still have a missing second hot leg, which prevents the heater from receiving 240 VAC. With power disconnected, check the heating element, high-limit thermostat, and thermal fuse for the expected continuity or resistance. If those parts test correctly, a live test may show whether the control is supplying voltage to the heater circuit.
On a washer that will not agitate or spin, multimeter work may begin with the lid lock or door lock. A failed lock can prevent the control from advancing into a spin sequence. Depending on the design, you may test the lock switch contacts, verify voltage arriving at the lock, and inspect the harness for an intermittent connection. Do not condemn the main board until the input and output conditions support that conclusion.
On a refrigerator, thermistor testing is especially valuable. Thermistors change resistance as temperature changes. A reading without context is incomplete, so measure the compartment temperature and compare the resistance to the manufacturer chart. A thermistor can look physically perfect while feeding false temperature information to the control.
On a dishwasher, a failed heating circuit may cause poor drying or an error code. Check the heater resistance, high-limit protection, wiring, and control output. If the heater has the correct resistance but never receives voltage during the correct point in the cycle, the fault may be upstream. That distinction protects the customer from paying for a heater that was never the problem.
Read the Number, Not Just the Display
Technicians get into trouble when they treat every meter reading as pass or fail without context. A resistance value may be normal for one model and wrong for another. A voltage reading can be present with no usable current capability if there is a poor connection. A continuity beep can occur through an unintended path in a connected circuit.
Use the wiring diagram, technical data sheet, and service information to establish the expected reading. When you test a component in-circuit, understand that parallel paths can affect your measurement. If the number does not make sense, isolate the component by disconnecting at least one wire when safe and appropriate, then retest.
Also inspect what the meter cannot tell you alone. Look for overheated terminals, loose spade connectors, rubbed harnesses, moisture intrusion, corroded plugs, and damaged board traces. A terminal may show voltage during a no-load test but fail when the appliance draws current. Field-ready diagnostics combine meter readings with visual inspection and an understanding of how the appliance operates.
Build a Skill That Makes You Employable
Reliable multimeter work is one of the fastest ways for a new technician to become useful on real service calls. It supports every appliance category: laundry, refrigeration, cooking, dishwashers, microwaves, and ice makers. More than that, it teaches the habit that separates technicians from parts changers: verify the failure, explain the repair, and document the result.
At Appliance Repair Academy, students build this skill through structured electrical lessons, scenario-based simulations, graded coursework, and diagnostics that connect wiring diagrams to real appliance symptoms. The Appliance Repair Assistant AI app can also support field work with multimeter guidance, wiring references, error-code lookup, photo-based fault detection, job ticketing, and customer-ready reporting.
Your next reading should lead to a decision, not another guess. Explore Appliance Repair Academy training content to build a repeatable diagnostic process, and use the Appliance Repair Assistant AI app alongside hands-on practice as you prepare for paid service work or your own repair business.